Cherry Pie with Crumb Topping
Cherry Pie with Crumb Topping
Dessert
This post was one of my first from 2016… Being PI Day I decided to update the post! Pie is also one of my favorite desserts! I prefer it to cake (most of the time). My hubby’s favorite pie is cherry, so here is an easy, yet yummy version. You can choose to use a pre-made crust or try your hand at the homemade crust recipe that follows. Once you make your own crust you will never go back. Really not a difficult process…. And soooo worth it!!
Cherry Pie with Crumb Topping
Yield: 8 Slices
One Pre-made 9” deep pie crust Or Pie crust recipe below
1 ¼ cups all purpose flour, spooned and leveled
½ teaspoon salt
¼ cup sugar
½ cup, 1 stick COLD unsalted butter, cut into tablespoons
2 tablespoons to ¼ cup ice water
Filling:
2 cans Cherry pie filling ( any fruit filling will work too)
Crumb topping:
2/3 cup flour
½ cup brown sugar
½ cup butter
¼ cup almonds
Equipment:
Food processor medium bowl
Pastry blender
Dry measuring cups
Measuring spoons
Rolling pin
Waxed paper
9” pie pan


Place flour, divided butter, & salt into food processor or medium bowl. Pulse processor until flour and butter resemble course cornmeal texture. If using pastry blender, manually mix and cut in flour and butter until same crumbly texture appears. No time to make a crust….Go ahead and use a pre-made crust too… It will still be yummy!


Add first 2 tablespoons of ice water and pulse or hand mix with pastry blender. Add additional ice water in 1 tablespoon intervals until dough holds shape. Dough will make a loose ball when squeezed in your hand.


Dump dough onto board and form into a round disk and place on waxed paper. Wrap and place in freezer for 10 minutes to allow gluten to absorb moisture and firm up.


When it is time to roll out dough for pie shell, unwrap dough from waxed paper and dust with flour. Place a second piece of waxed paper on top of pastry and roll out until about 1 “ larger that pie pan placed on top of dough.


Now comes the tricky part… Remove the top piece of waxed paper and flip over on top of pie pan. Carefully peel off second waxed paper layer. Gently press dough into pie pan making sure crust sits on bottom and sides. The dough is very forgiving and easy to tear and move to even out.

Making your crust look pretty is just as important as it actually tasting great! Leaving the crust sitting high above the pans edge gives plenty of room for yummy filling and crumbly topping. Your crust edge can be as decorative as you like by either pinching the crust between your thumbs and making a scalloped edge or leaving it straight. Add the cans of pie filling to your crust and level.


I always prefer a crumb topping to a second pastry crust. Adds an extra crunch and so much more flavor. Place the flour, brown sugar and almonds in food processor or in a medium bowl. Pulse processor or cut in until mixture is evenly blended.


Evenly spread canned cherries in crust to the edges. Sprinkle crumb topping over cherries and decorate as desired. To stay in the holly jolly at Christmas, I cut 2 Marachino Cherries into a bow shape to complete the garnish. You will be so proud of your yummy pie.


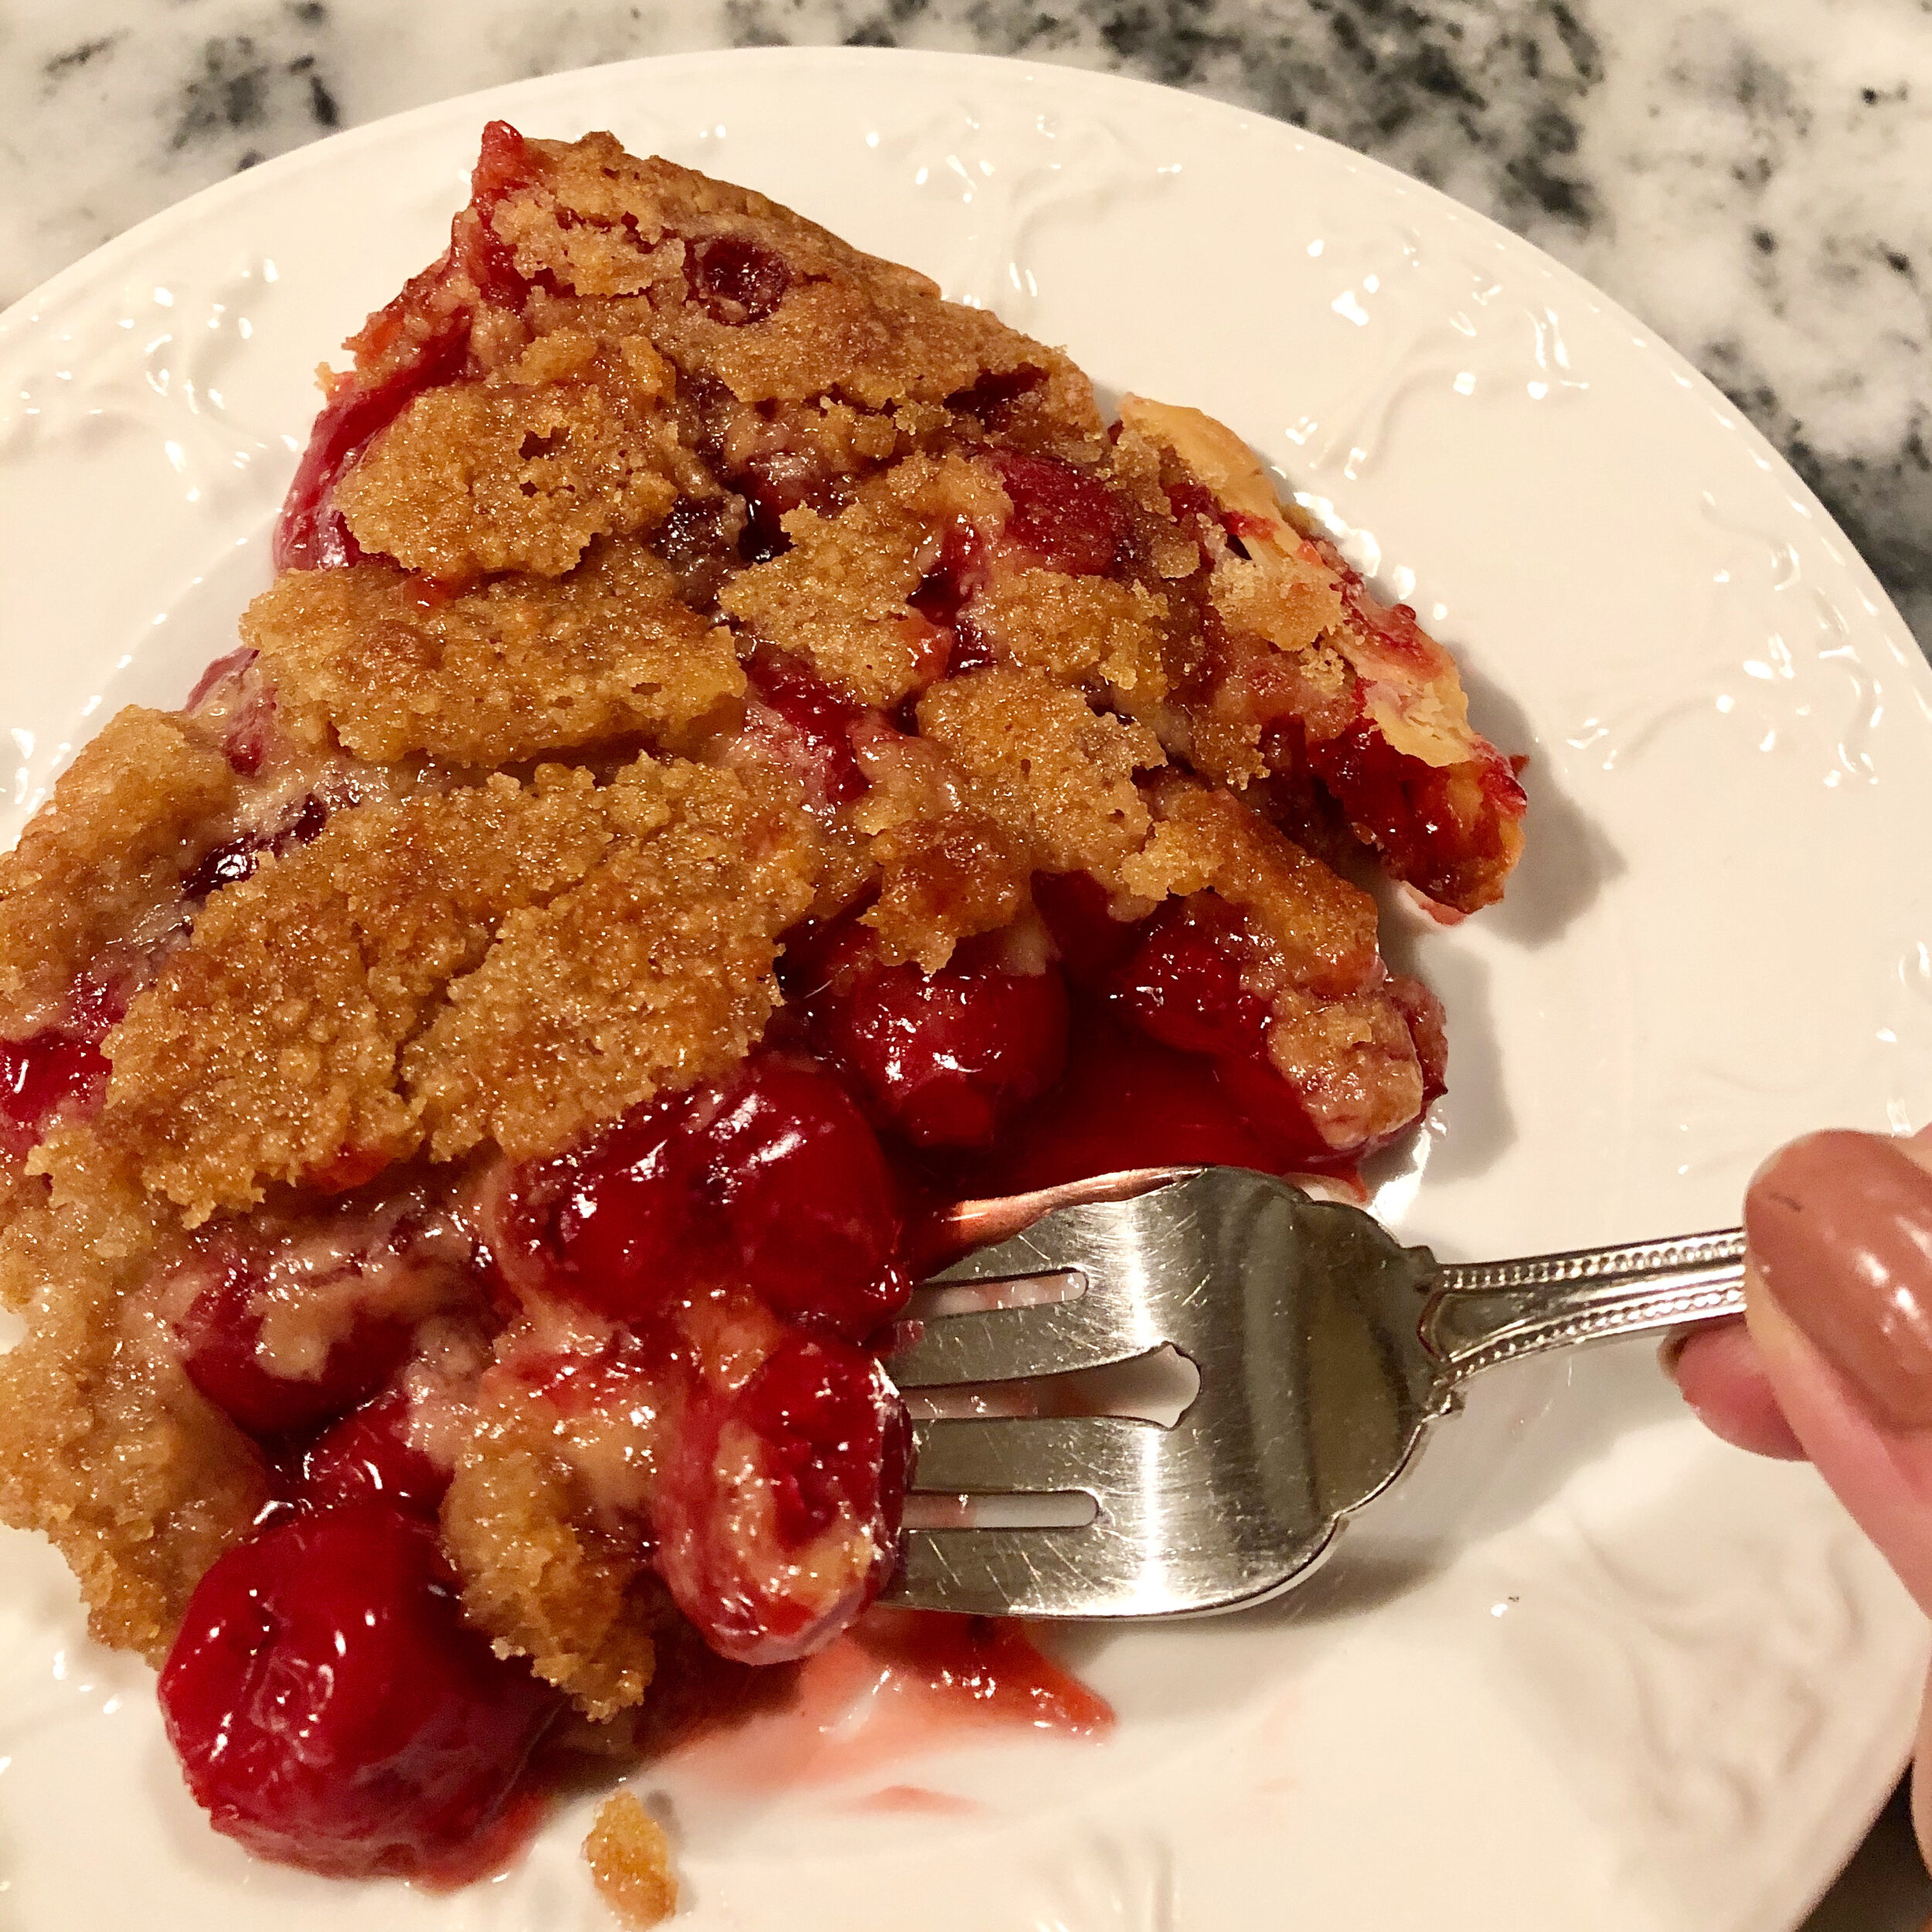
Homemade pie is sooo good! Sometimes the filling explodes, like mine above… especially if filled too full and you use too small of a pan! I love a high volume pie and filling is the best part!! Allow pie to cool before attempting to slice… makes the job easier. Garnish with whipped cream or ice cream, if you like… Enjoy!!