White Chocolate Cheesecake with Chocolate Cookie or Gluten-free Crust
White Chocolate Cheesecake with Chocolate Cookie or Gluten-free Crust


Perfect cheesecake for your holiday party!! Creamy white chocolate cheesecake garnished with peppermint and chocolate, cranberry sauce, raspberry sauce and whipped cream...on a chocolate cookie or gluten-free nut crust. Creates a luscious dessert sure to tantalize your taste buds and amaze your guests too. Make it for your next gathering... guaranteed to be a hit!

White Chocolate Cheesecake with
Chocolate Cookie or Gluten free Crust
Yield: 10 – 12 slices
Ingredients:
Chocolate Crumb Crust:
1⁄2 10-ounce package Oreo thins (or 5 ounces chocolate wafers, regular or gluten-free), crushed
1⁄4 cup granulated sugar
5 tablespoons butter, melted
Vegetable oil spray
Gluten-free Nut crust:
1/4 cup gluten free graham cracker crumbs
3/4 cup chopped pecans
4 tablespoons butter, melted
1/3 cup brown sugar, packed
2 tablespoons gluten-free flour
1/2 teaspoon cinnamon
Cheesecake:
1 pound Neufchatel Cheese or light cream cheese
3⁄4 cup granulated sugar
2 extra-large eggs (or 3 large)
1 1⁄2 teaspoons vanilla extract
3⁄4 cup non-fat Greek yogurt or light sour cream
1⁄2 12-ounce package white chocolate chips
Garnish options: Crushed peppermint, chocolate syrup/sauce, fresh/frozen raspberry puree, cranberry sauce, whipped cream
Equipment needed:
9-inch Spring form pan
Aluminum foil
Food processor(or standup/ hand mixer)
Rubber spatula
Dry measuring cups
Measuring spoons
Small microwave safe bowl

This lower fat cheesecake is so easy no one will think you made it... never know it’s reduced fat either! I make it a day in advance too to reduce the crazy last-minute baking for a holiday gathering. The homemade chocolate cookie crust makes is easy and gives it an amazing crunchy finish! My daughter follows a gluten-free diet due to an allergy, so I often make it with a gluten-free nut or cookie crust. No one notices the difference! I often garnish it with a fresh raspberry topping, but lately have used peppermint and chocolate sauce... whipped cream of course too. Grab your food processor and let’s get baking!


Preheat oven to 375 F.
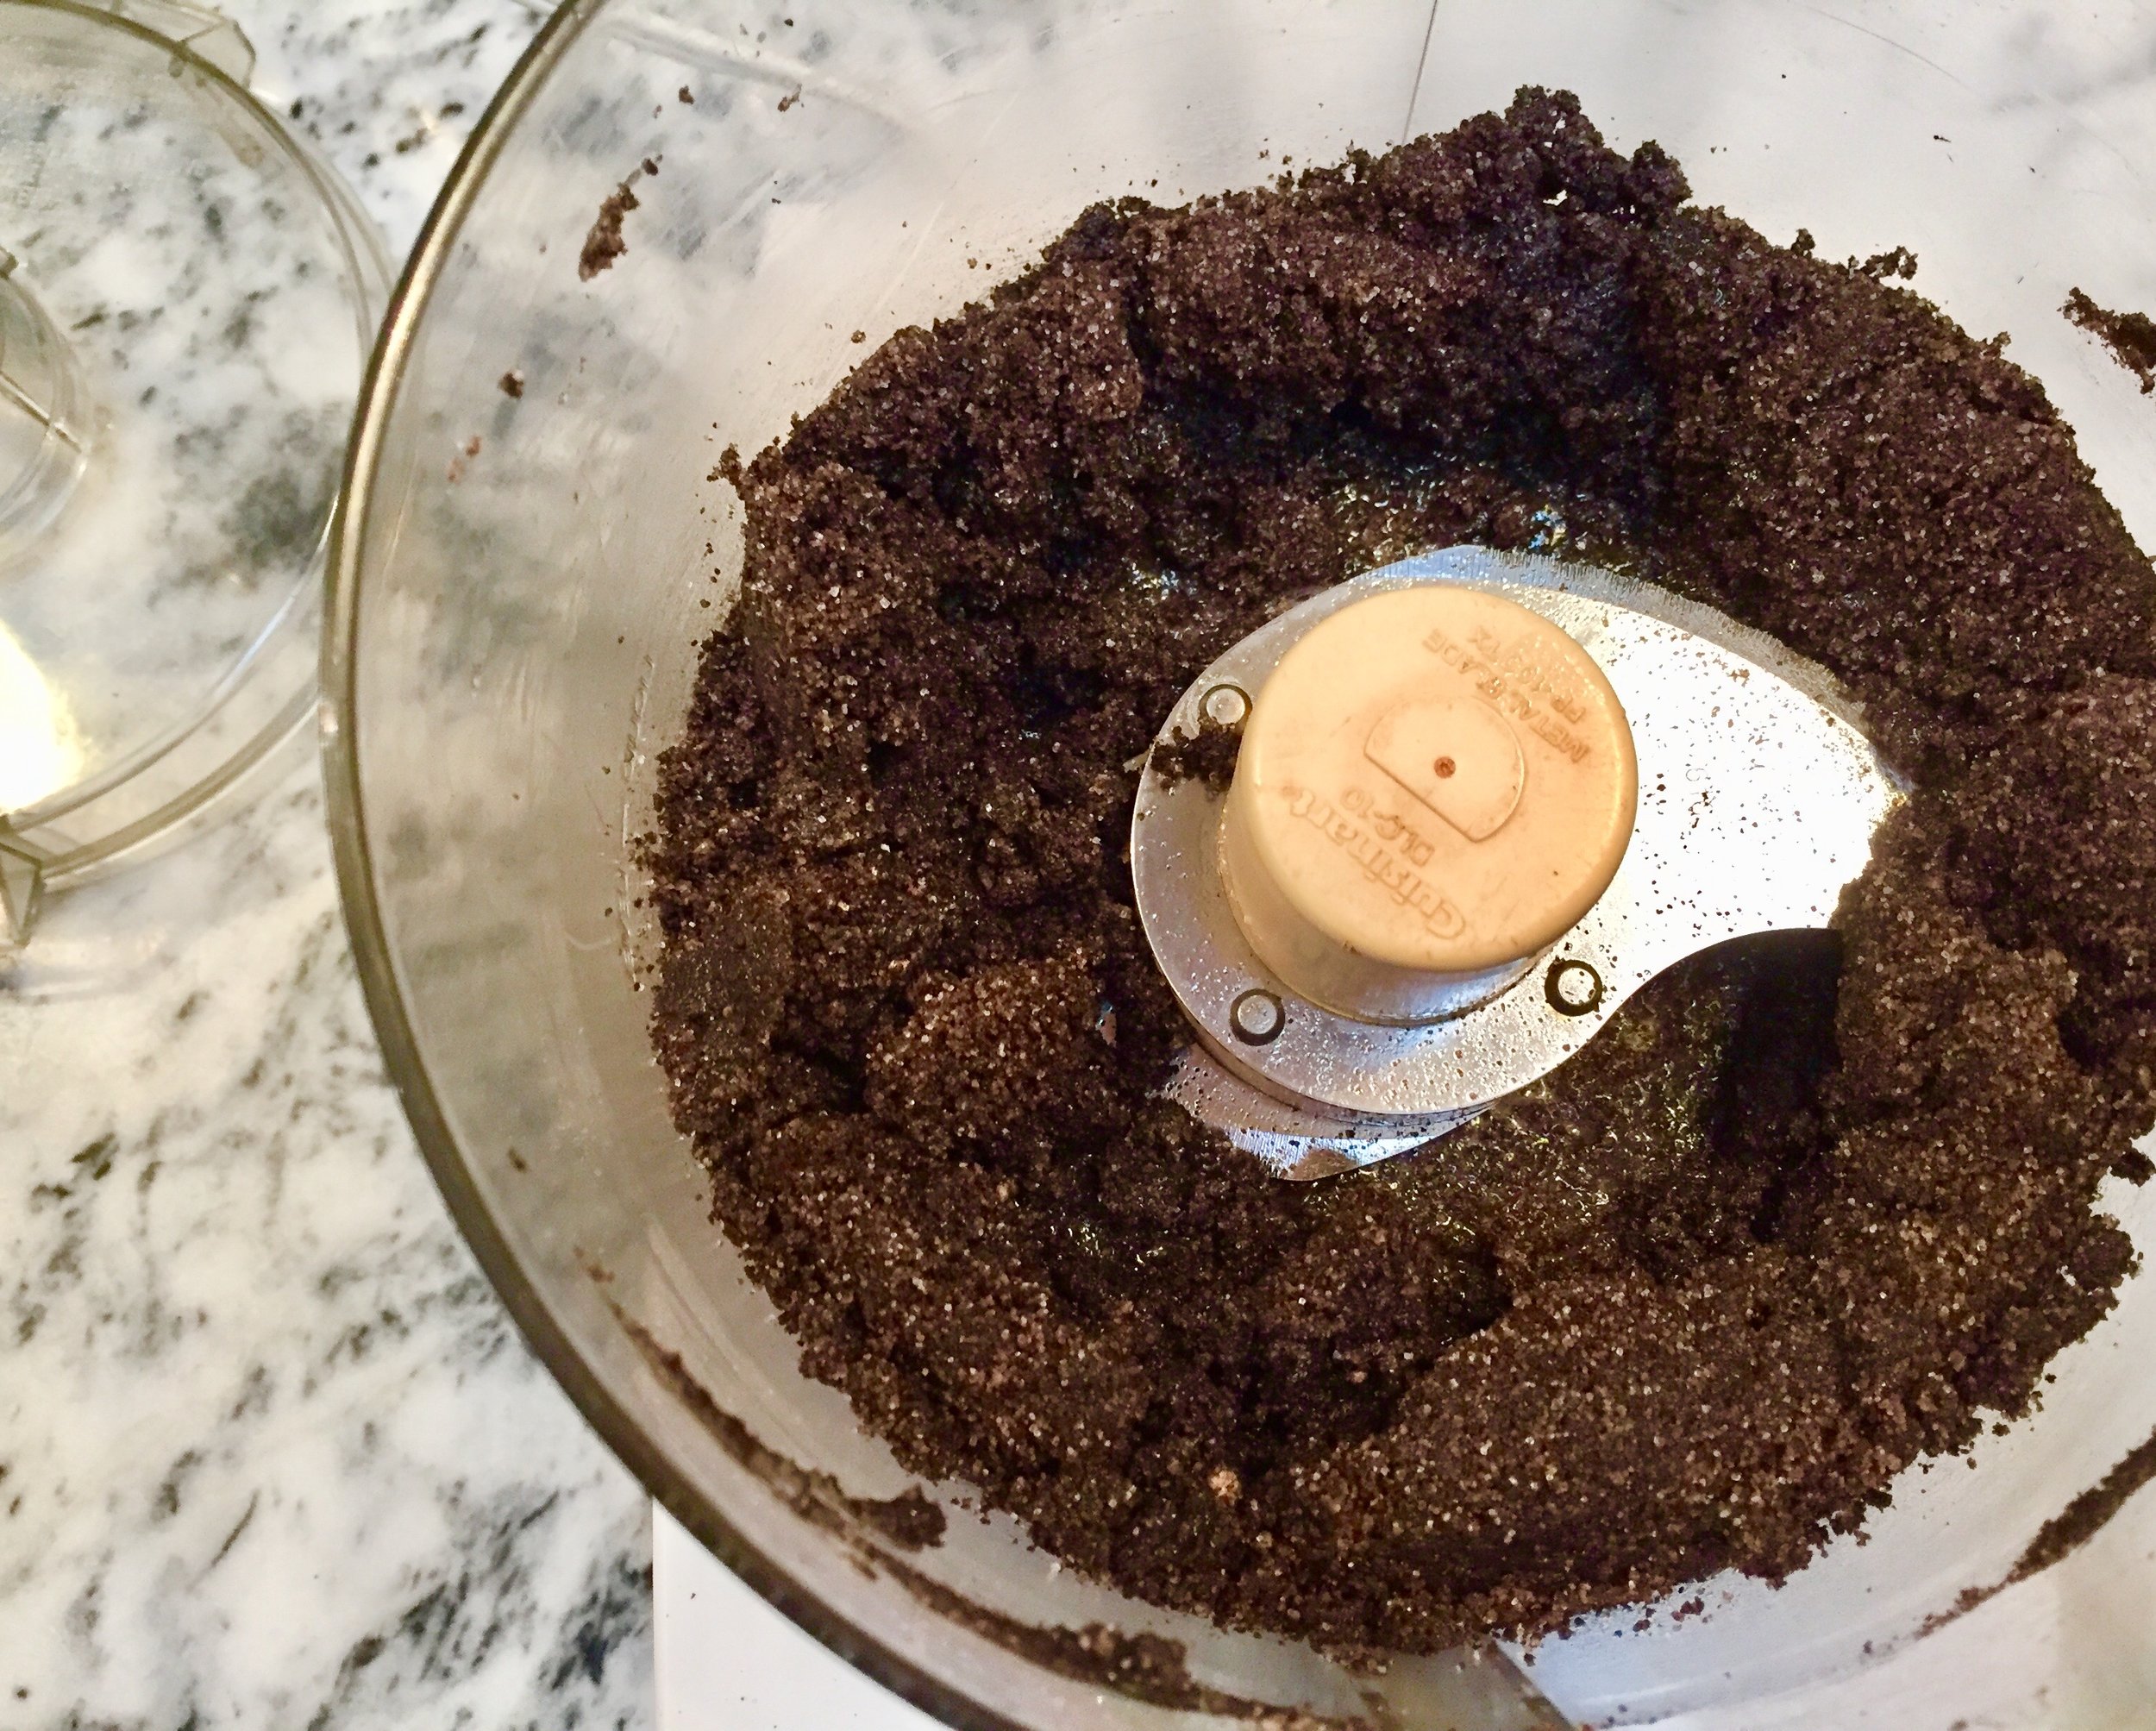
This is the best cookie crust and so easy too! I found using the thin Oreos gives just the right amount of creamy texture to make an amazing crust. Chocolate cookies, chocolate graham crackers or gluten-free cookies also work well. Start by crushing the cookies in the processor along with the sugar. Pulse mixture until fine crumbs are created. Melt butter in the microwave and add to crumbs. Continue to pulse until crumbs pull away from sides of processor and uniformly blended. Line the bottom of a 9-inch spring form pan with foil to prevent butter from leaking out in your oven as it bakes. Lightly spray pan with vegetable spray to help release cake and crust. Place crumbs into spring form pan and press/pack down into bottom, coming about 1⁄2 inch up the sides. I use my fingers or the back of a rubber spatula for pressing. Wetting your hands or spatula a bit with cold water helps to reduce the sticking. Bake crust on middle rack in preheated 375 F oven for 10 – 12 minutes. Remove and set to the side until filling is complete.
** Follow same process for gluten-free nut crust using ingredients listed in ingredient section above.


Reduce oven temperature to 325 F.
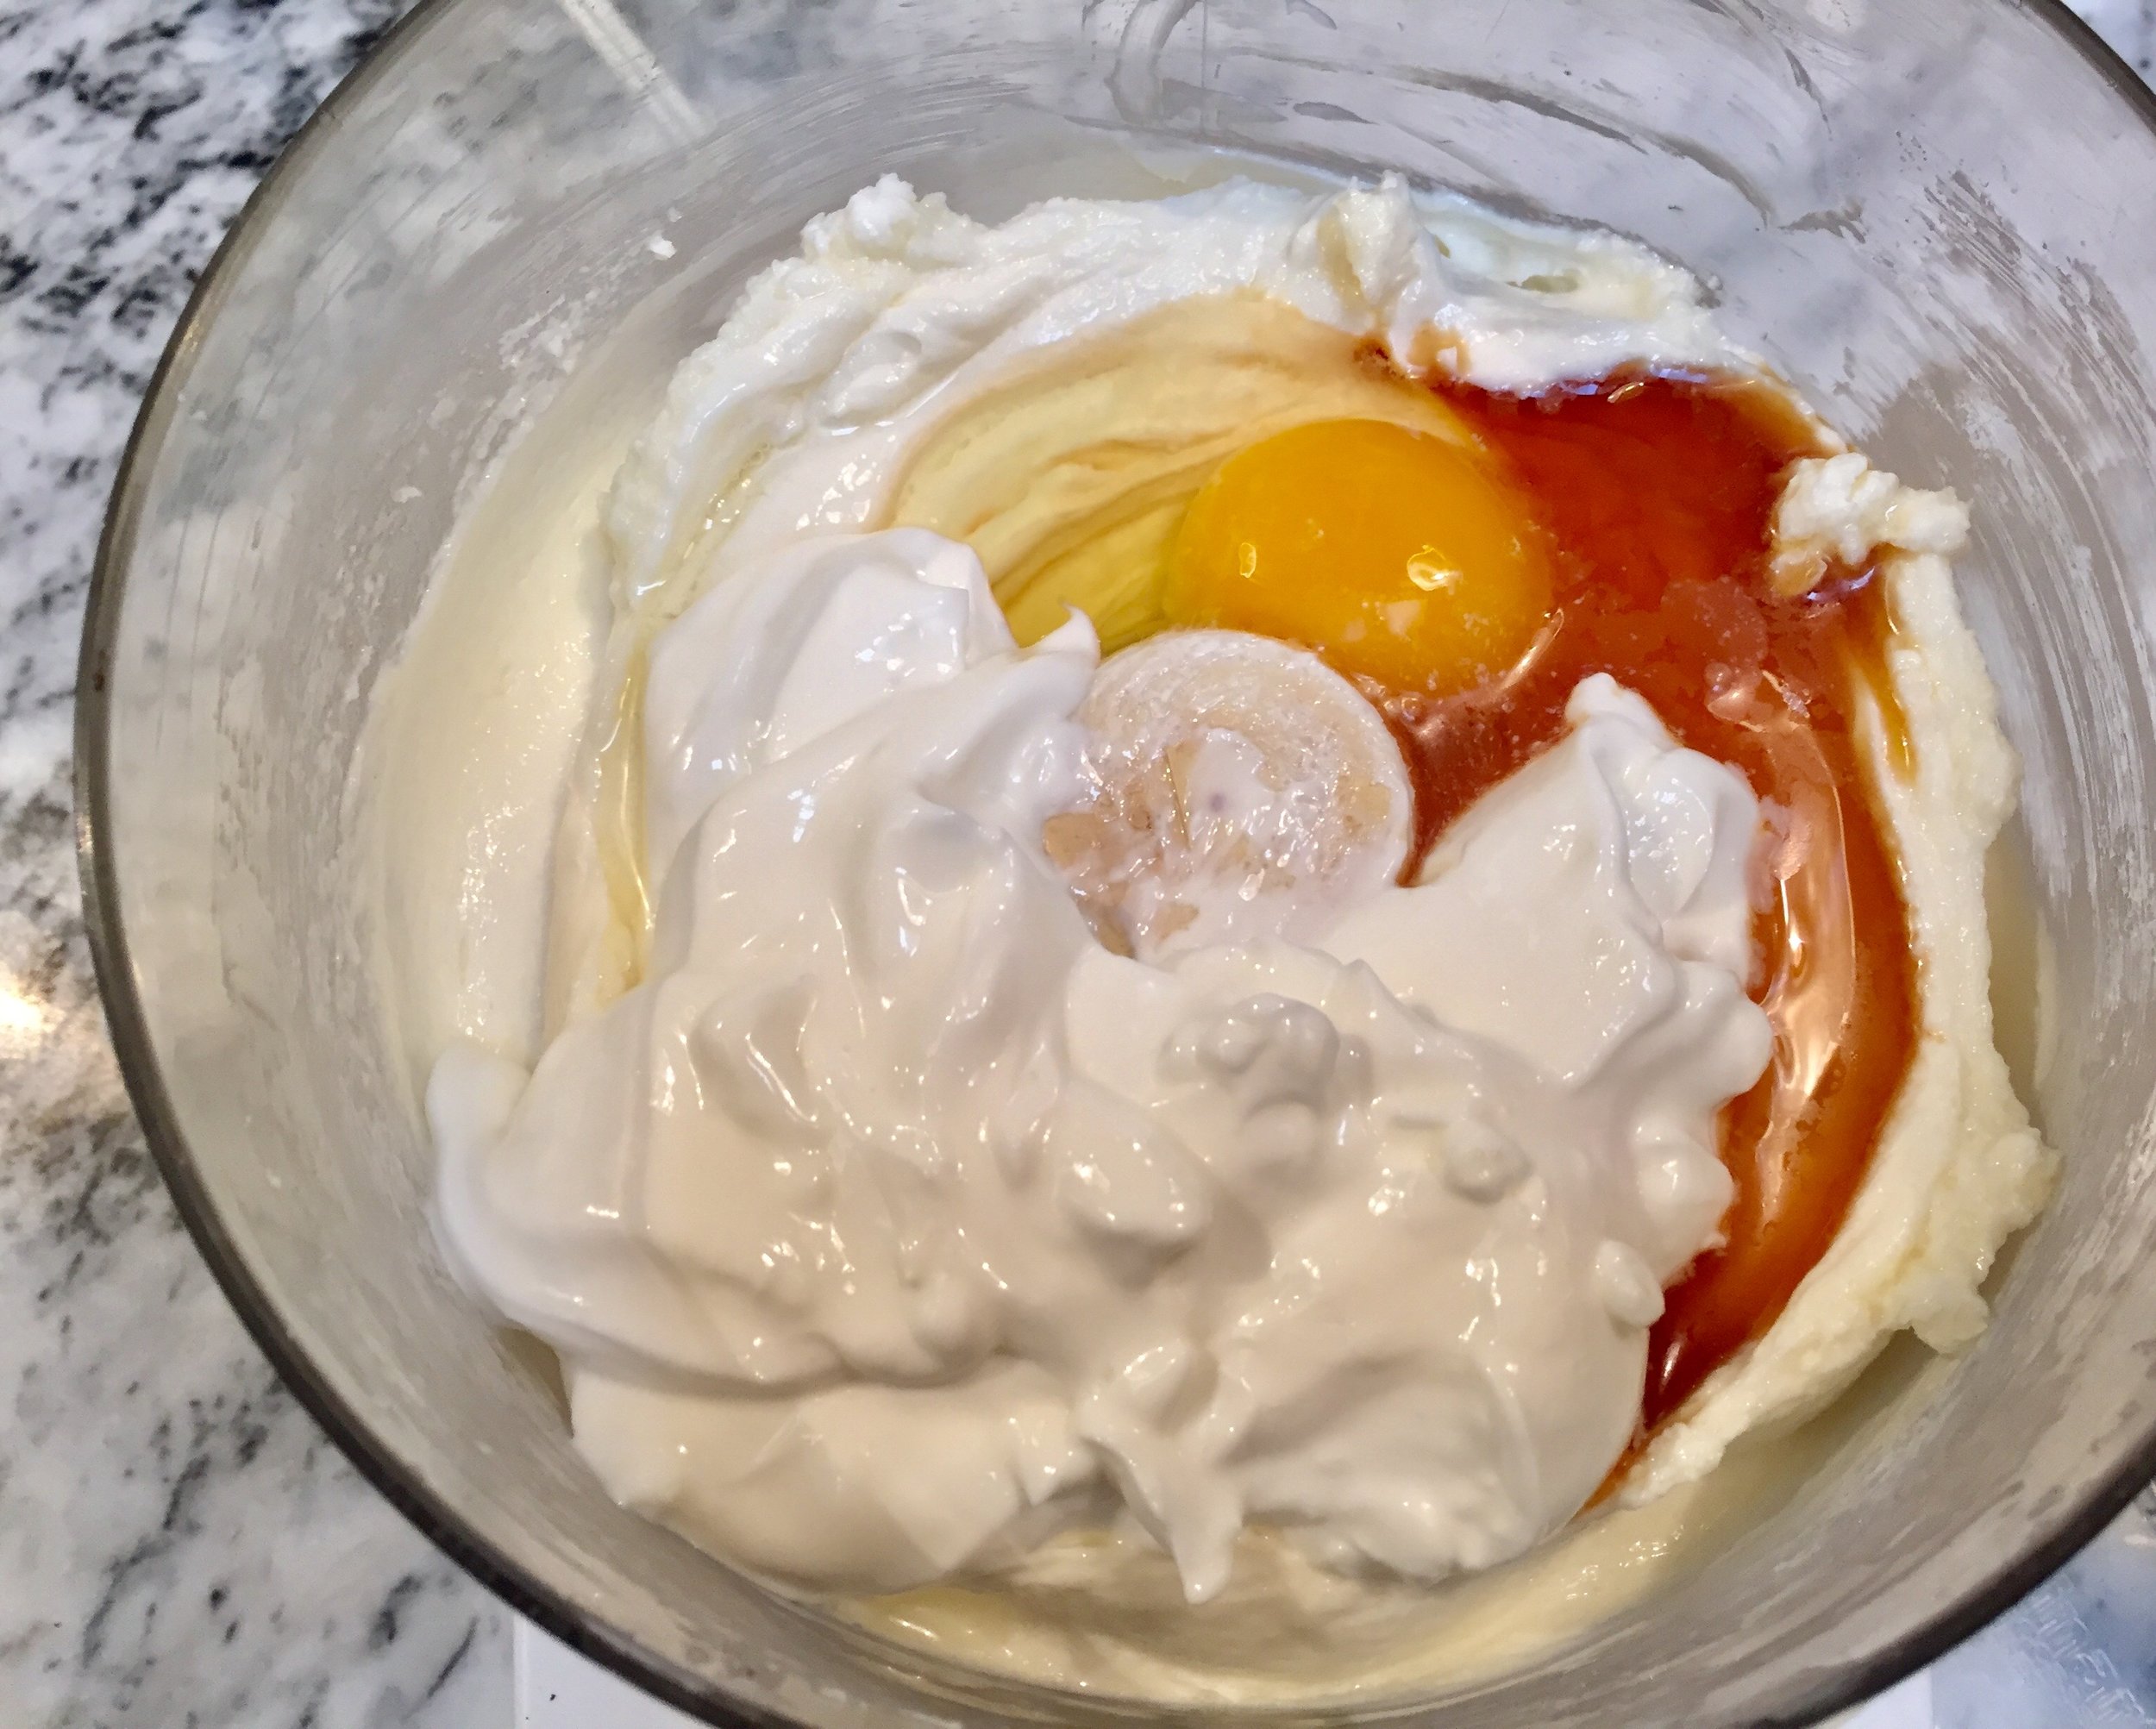
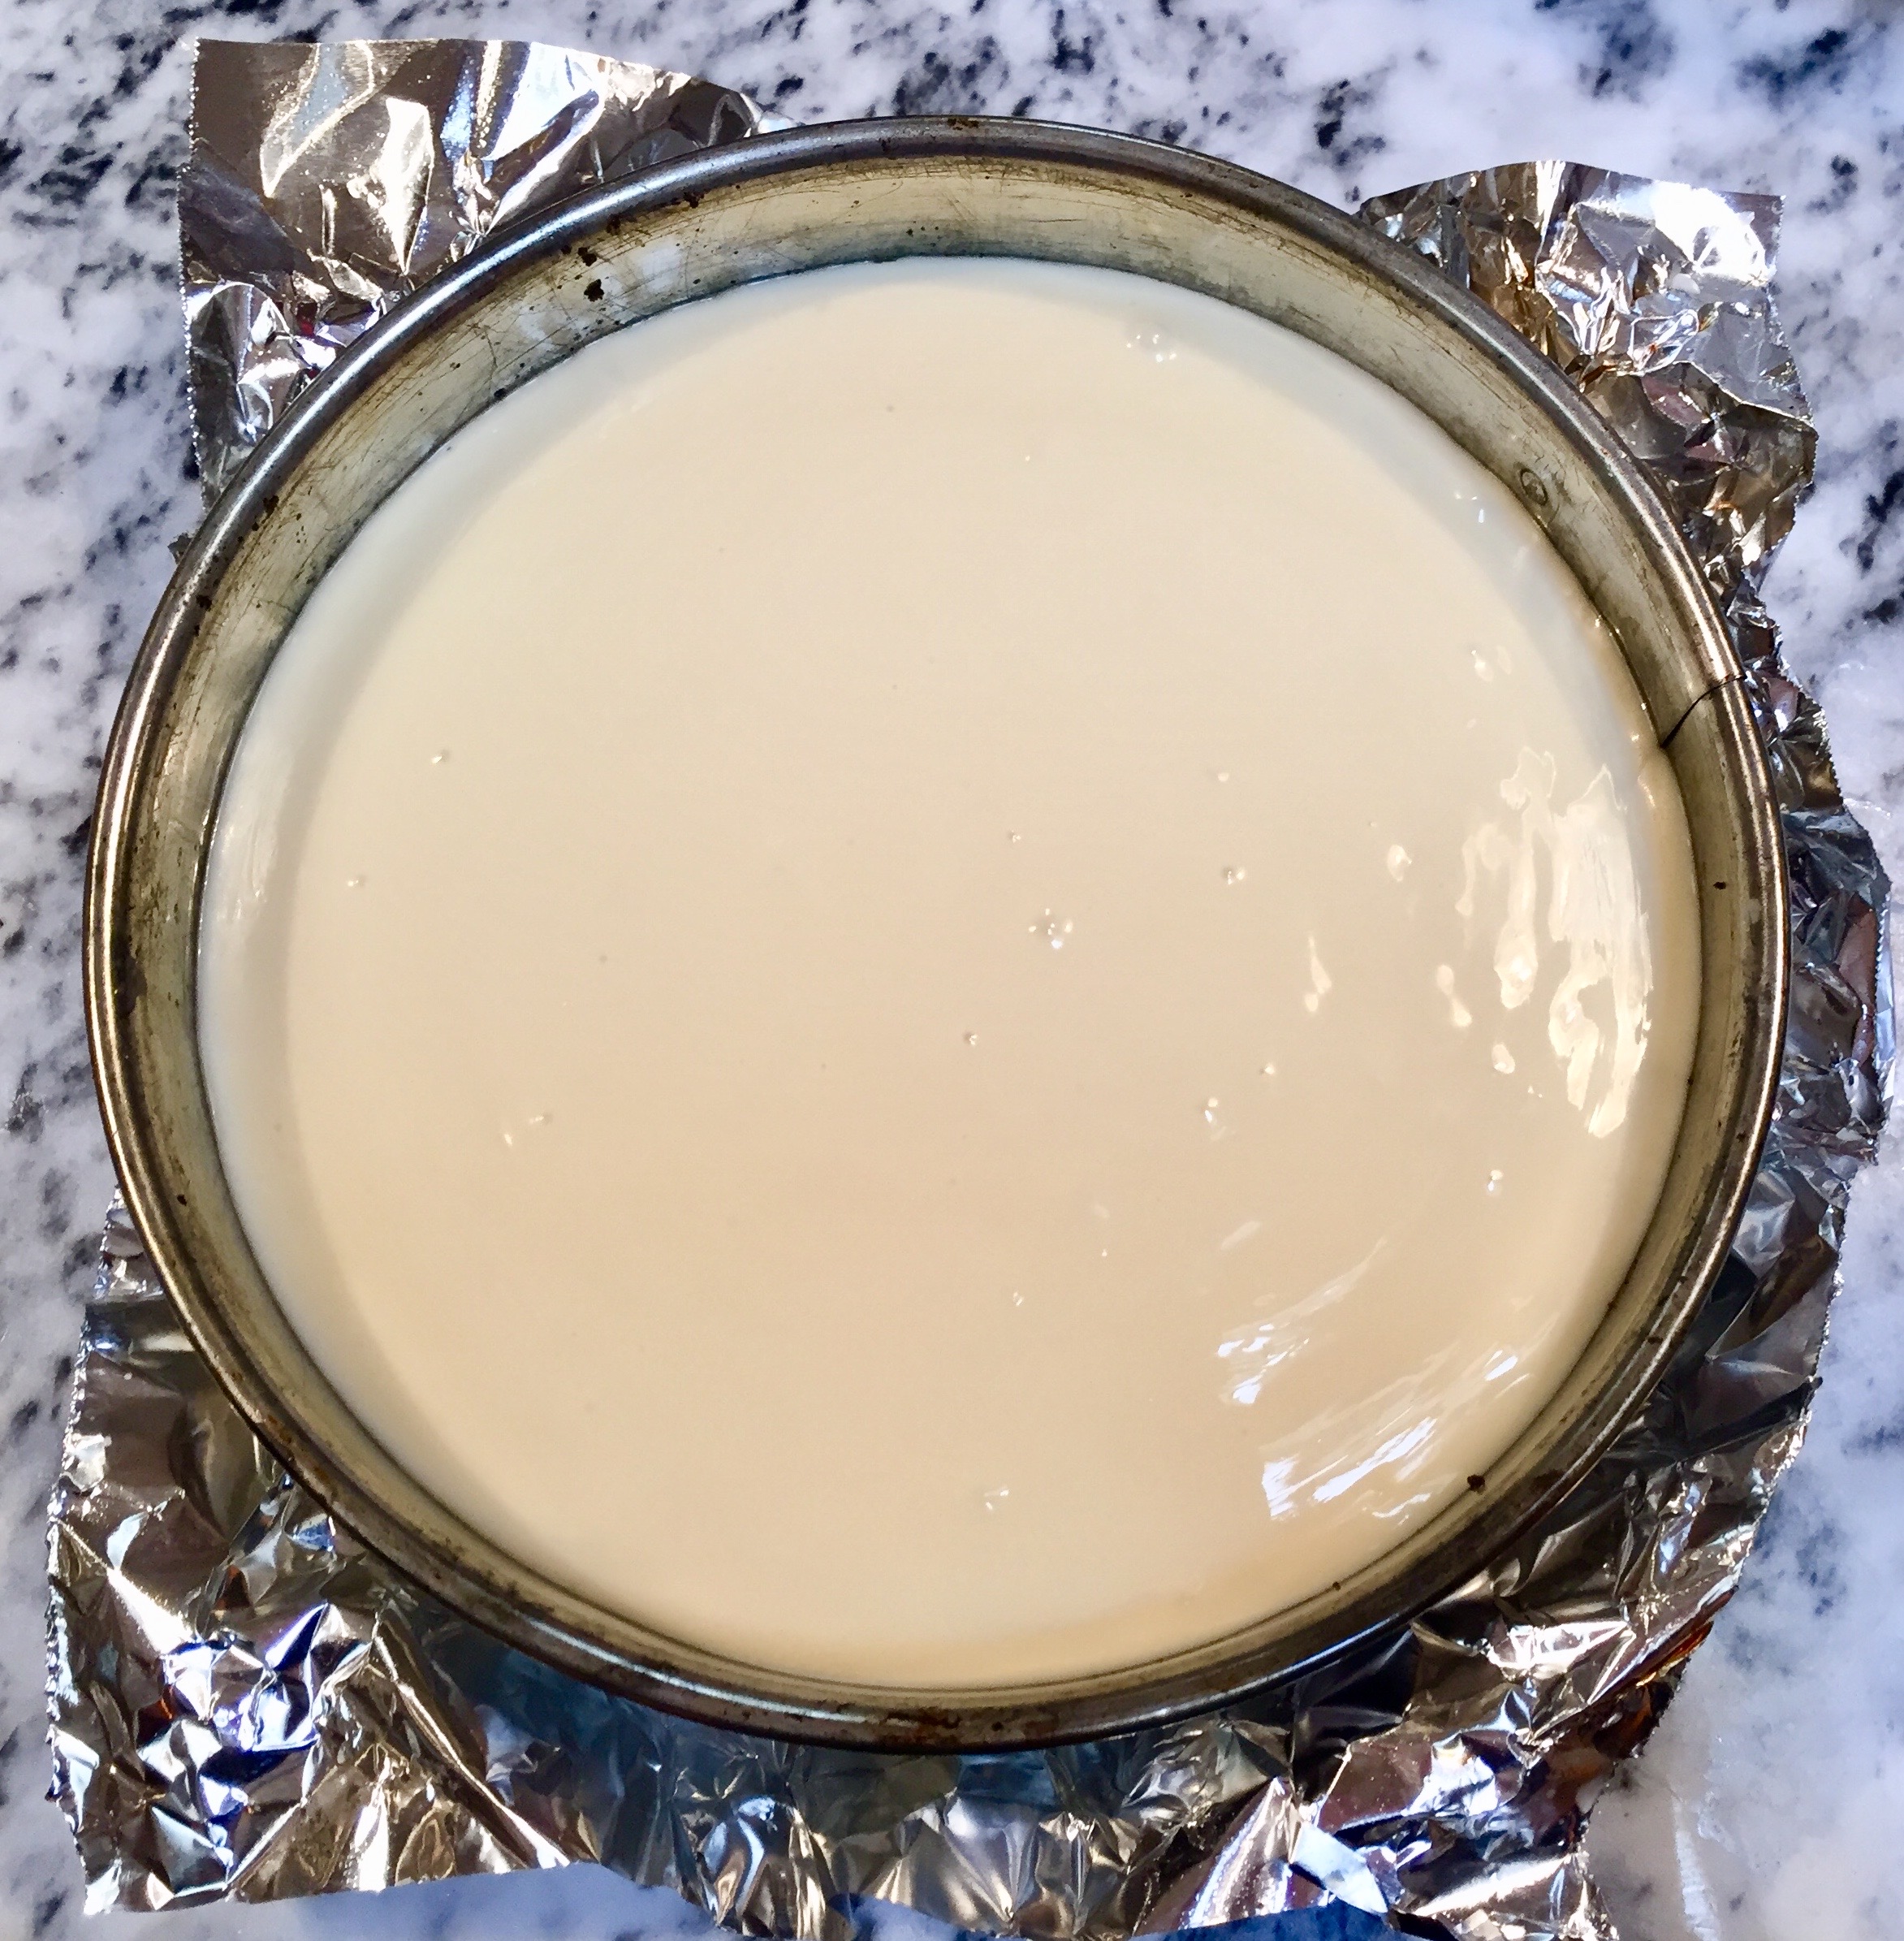
While crumb crust is baking, clean the food processor and make the filling. A standup mixer or hand mixer can be used, but I started using a food processor as I found the filling to be smoother. You can use a mixer with great results too, just takes longer for a smooth product. Place cream cheese, eggs, sugar and vanilla into the processor and blend until smooth. Meanwhile, as the mixture is mixing, place chips into a microwave safe bowl and microwave at 30 second increments until smooth, about 3 minutes. Be sure to stir after each 30 seconds, to avoid burning of the chips. Add melted white chocolate to cream cheese mixture and continue to mix for another minute. Pour mixture into prepared crust and shake slightly to level.
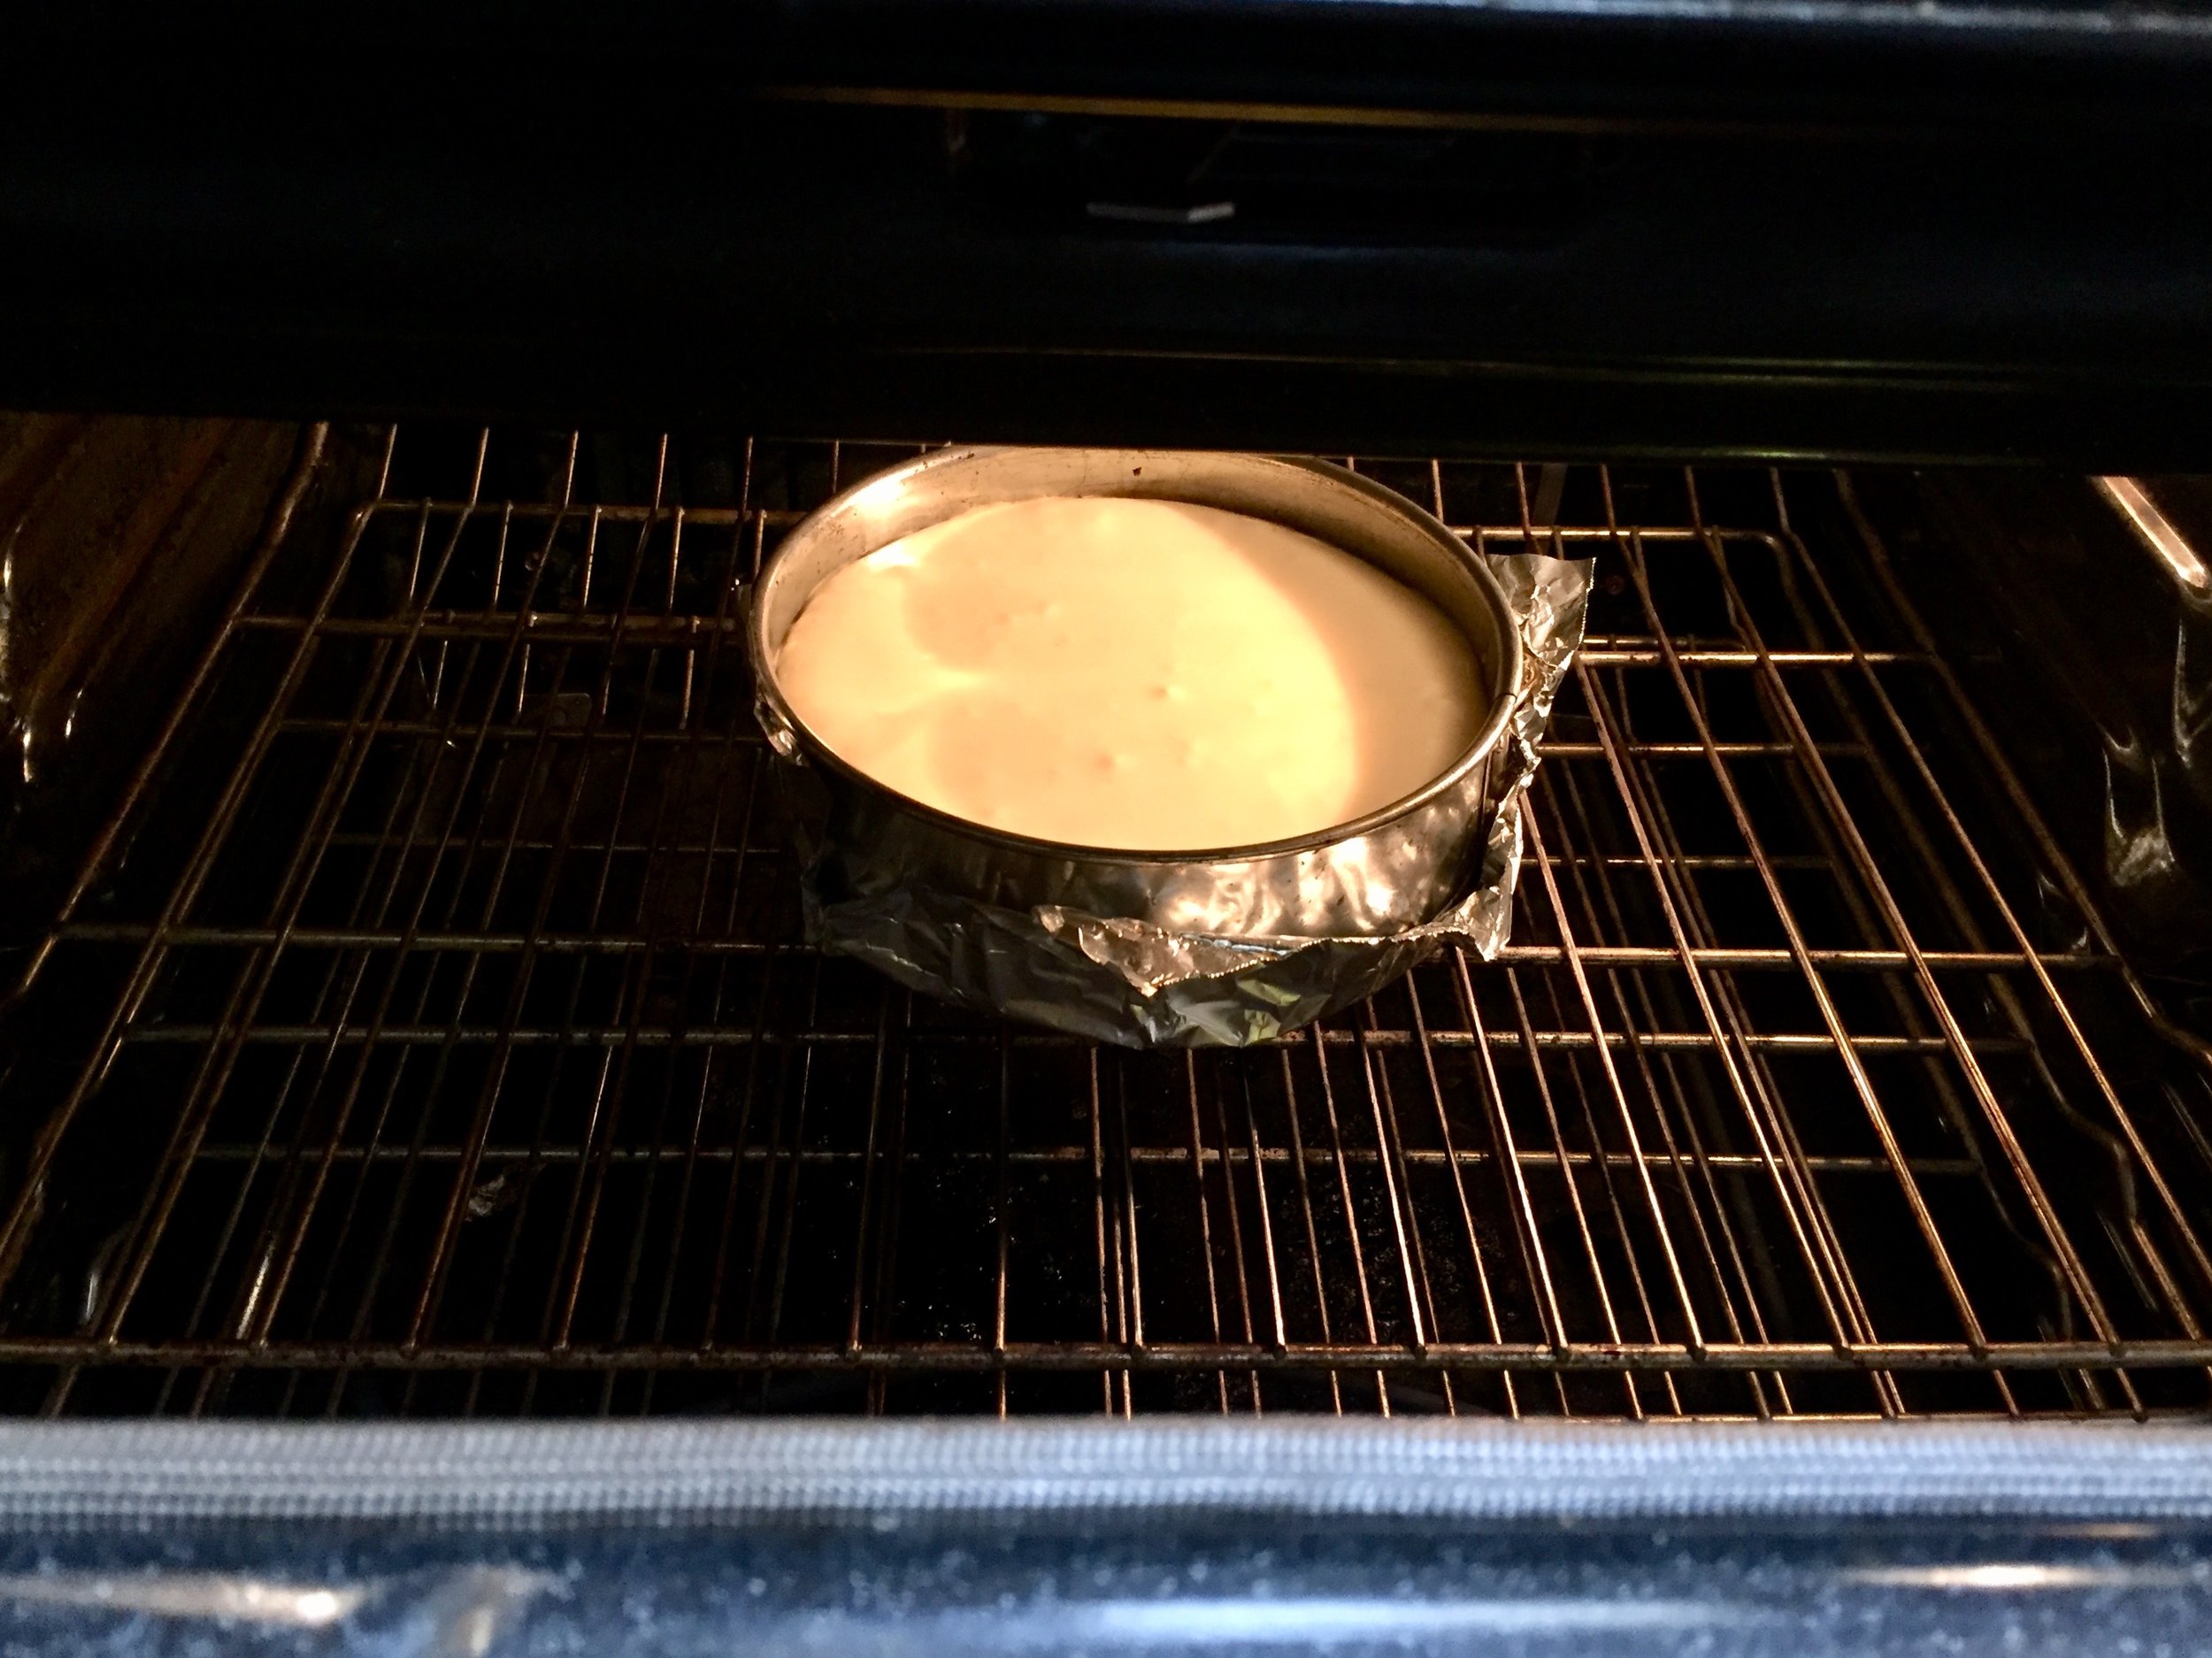
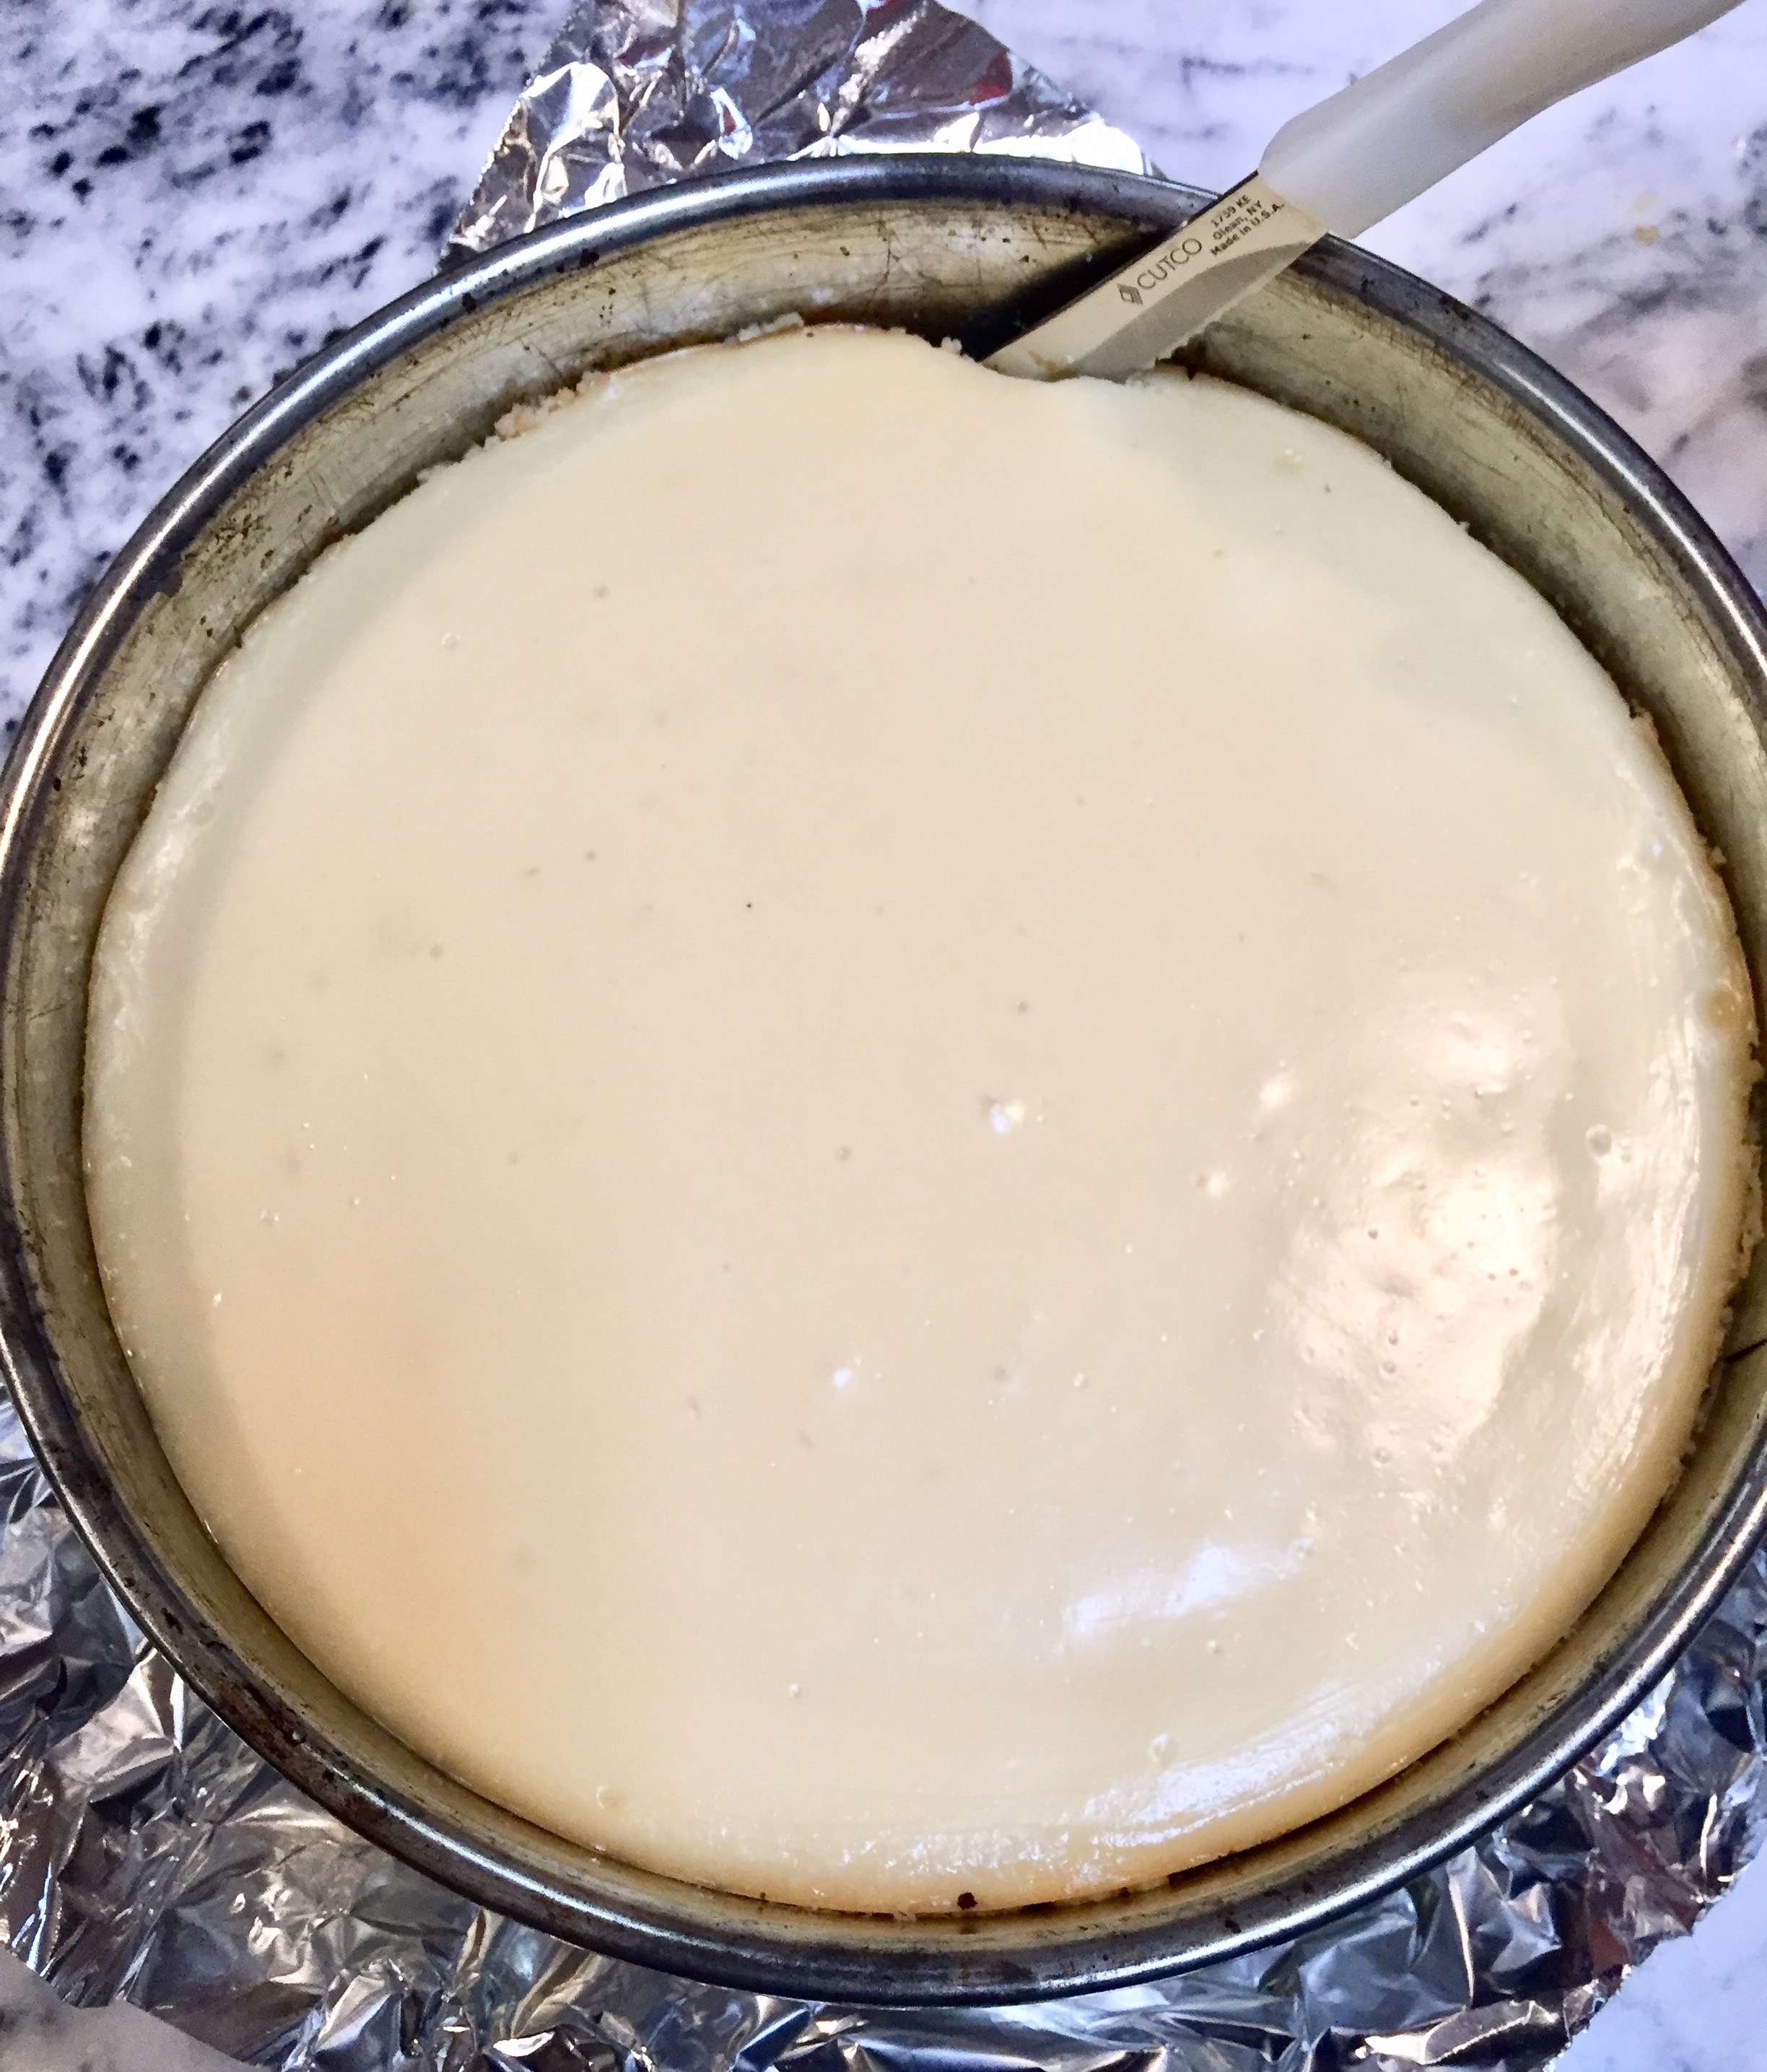
To bake cheesecake, place on center rack of 325 F for 25 – 30 minutes. Shake cheesecake. If cheesecake barely jiggles, turn off oven and leave door cracked open 3 – 4 inches. Allow to set in oven for additional 45 minutes. Remove and run knife carefully around edges to prevent cracking of cake as it cools. Place uncovered in refrigerator until fully cooled. Place plastic wrap or foil on top to reduce hardening of surface and store until ready to serve.


Remove cheesecake from refrigerator about 30 minutes prior to serving and remove spring form from pan. To serve, crush peppermint candy canes using a rolling pin. Drizzle chocolate sauce, sprinkle crushed peppermint, cranberry sauce or fresh berries. Add a dollop of whipped cream. Isn’t it elegant? Just wait until you taste it... Enjoy!!


*** Alternate Serving Ideas:
Using fresh berries:
Simmer 1 cup of fresh/ frozen raspberries, 3⁄4 - 1 cup sugar and 1 tablespoon corn starch until boiling. Simmer for 2 – 3 minutes until thickened and fruit softened. Cool in refrigerator and drizzle over cheesecake with drizzled chocolate sauce. Top with whipped cream and fresh berries.
Cranberry Sauce:
In a food processor, pulse 1 package fresh cranberries, 1 cup brown sugar, 1 fresh cubed orange and 2 tablespoons triple sec or Grand Marnier until well chopped. Refrigerate for at least 2 hours to allow flavors to meld together.
Using fruit jam/ preserves:
Warm 1⁄2 jar of favorite preserves in the microwave for 15 – 20 seconds. My hubby’s favorite is cherry! Drizzle/spoon over cut cheesecake and garnish with sliced almonds and a dollop of whipped cream.