Simple Fudgy Brownies
Simple Fudgy Brownies
So how many times have you wanted to make something chocolate but find no box of brownies in the cabinet? You don't want to go to the store either... Your search is over! This is a quick recipe you can make for any holiday or occasion just by changing the decoration you put on top! Can double the recipe for a 13 x 9 pan too!
Simple Fudgy Brownies
Yield: One 8" x 8" square pan or 7" x 5" rectangular pan
Ingredients:
Brownies
1/2 cup butter
1/2 cup cocoa powder
1 cup granulated sugar
2 large eggs, room temperature
1/2 cup flour
1/4 teaspoon baking powder
1/4 teaspoon salt
1/2 teaspoon vanilla
1/2 cup milk chocolate chips or semi sweet chips
1/3 cup sliced almonds, optional
Non-stick spray or butter for pan
Frosting:
1/3 cup butter, softened
1/4 cup cocoa powder
1/4 teaspoon salt
1 1/2 cups powdered sugar
1/2 teaspoon vanilla
2 - 3 tablespoons milk
Candy coated chocolates, baking chips, sprinkles or decoration of choice
Equipment:
Medium saucepan (or medium bowl)
Rubber spatula
Measuring cups
Measuring spoons
9" x 9" baking pan (or 7" x 5" rectangular)
Medium mixing bowl
Hand mixer or wire whisk
Flat edged spatula or butter knife
I love this brownie recipe! One of my family favorites and perfect for summer or any holiday gathering! This recipe originated in my Foods 1 class as an end of the semester dessert lab. Made in a saucepan, uses hardly any cleanup… easy recipe! (or use a microwave and a bowl… Even easier!) Added my fudge frosting and chocolate chips one time and everyone loved them… sure you will too! Ready in under an hour!!


Preheat oven to 350 F.
So this recipe is probably like none you have ever made as it uses your stove top or microwave to begin.
First …
1) Melt the butter and this can either be done on a stove top with a saucepan or using your microwave and a microwave safe bowl. Microwave safe means NOT METAL or soft plastic. When melting the butter, cut butter into 6-8 chunks and use a low heat as not to burn the butter or make it extremely hot. Turn off heat just when butter is almost melted to avoid overheating. Also in the microwave you will need to cover the bowl to avoid splattering butter all over. Microwaving will only take 20 - 30 seconds, saucepan about 2 minutes.
2) While butter is melting you can grease your pan by spraying lightly with non-stick spray or rubbing ~ 1 teaspoon butter over surface of pan. I often line pan with parchment paper for easy lifting and cutting of the baked treats.
** I often substitute half of the butter with applesauce to reduce the fat and calories… still moist and yummy!!
Next step…
3 )Remove pan from heat or bowl from microwave and add cocoa powder and sugar. Yes... mix it right in the saucepan! If you slowly heated your butter it will not be really hot and will cool off quickly. Mix about 2 minutes until you achieve a smooth chocolate paste.
**Remember, if you cook with an electric range the burners will stay hot for awhile, so move pan to another surface to ensure you don't burn the batter
Time to add the eggs…
4) Add eggs, one at a time. Your chocolate mixture should only be warm at this point so your eggs should not scramble. Test temperature with your finger if you want to be sure... if you can touch it, it's fine. Beat each egg in well to form a glossy batter.
**Eggs serve many functions in baking. They provide moisture, flavor, color and structure in the network of the baked good. They also are a leavening agent and help the batter to rise. It is important you use large eggs when baking. I often use extra large eggs or farm fresh which have a tendency to be bigger than store bought. In this case, baking sometimes takes a little longer due to moisture content difference, but I feel the final product is fluffier.


Now it's time to add your remaining ingredients.
5) Thoroughly mix flour and baking powder into batter for about 1-2 minutes. Then add vanilla last and blend well.
Wasn't that easy? Also, no preservatives or funky ingredients!


Final step… All that's left is panning and baking your brownies.
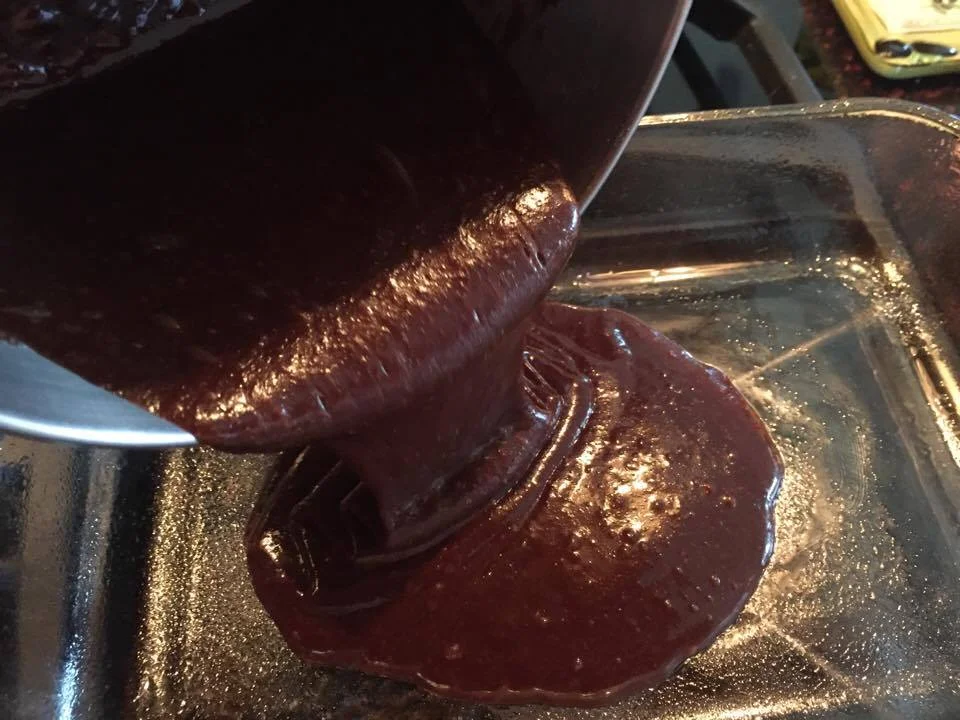
6) Pour batter into prepped pan and spread evenly to cover pan surface and corners. Sprinkle chocolate chips evenly over surface. Then if using almonds, or any nut will do, spread them evenly over brownies. If you don't have (or want) chips or nuts, that's okay too. They will still be yummy!
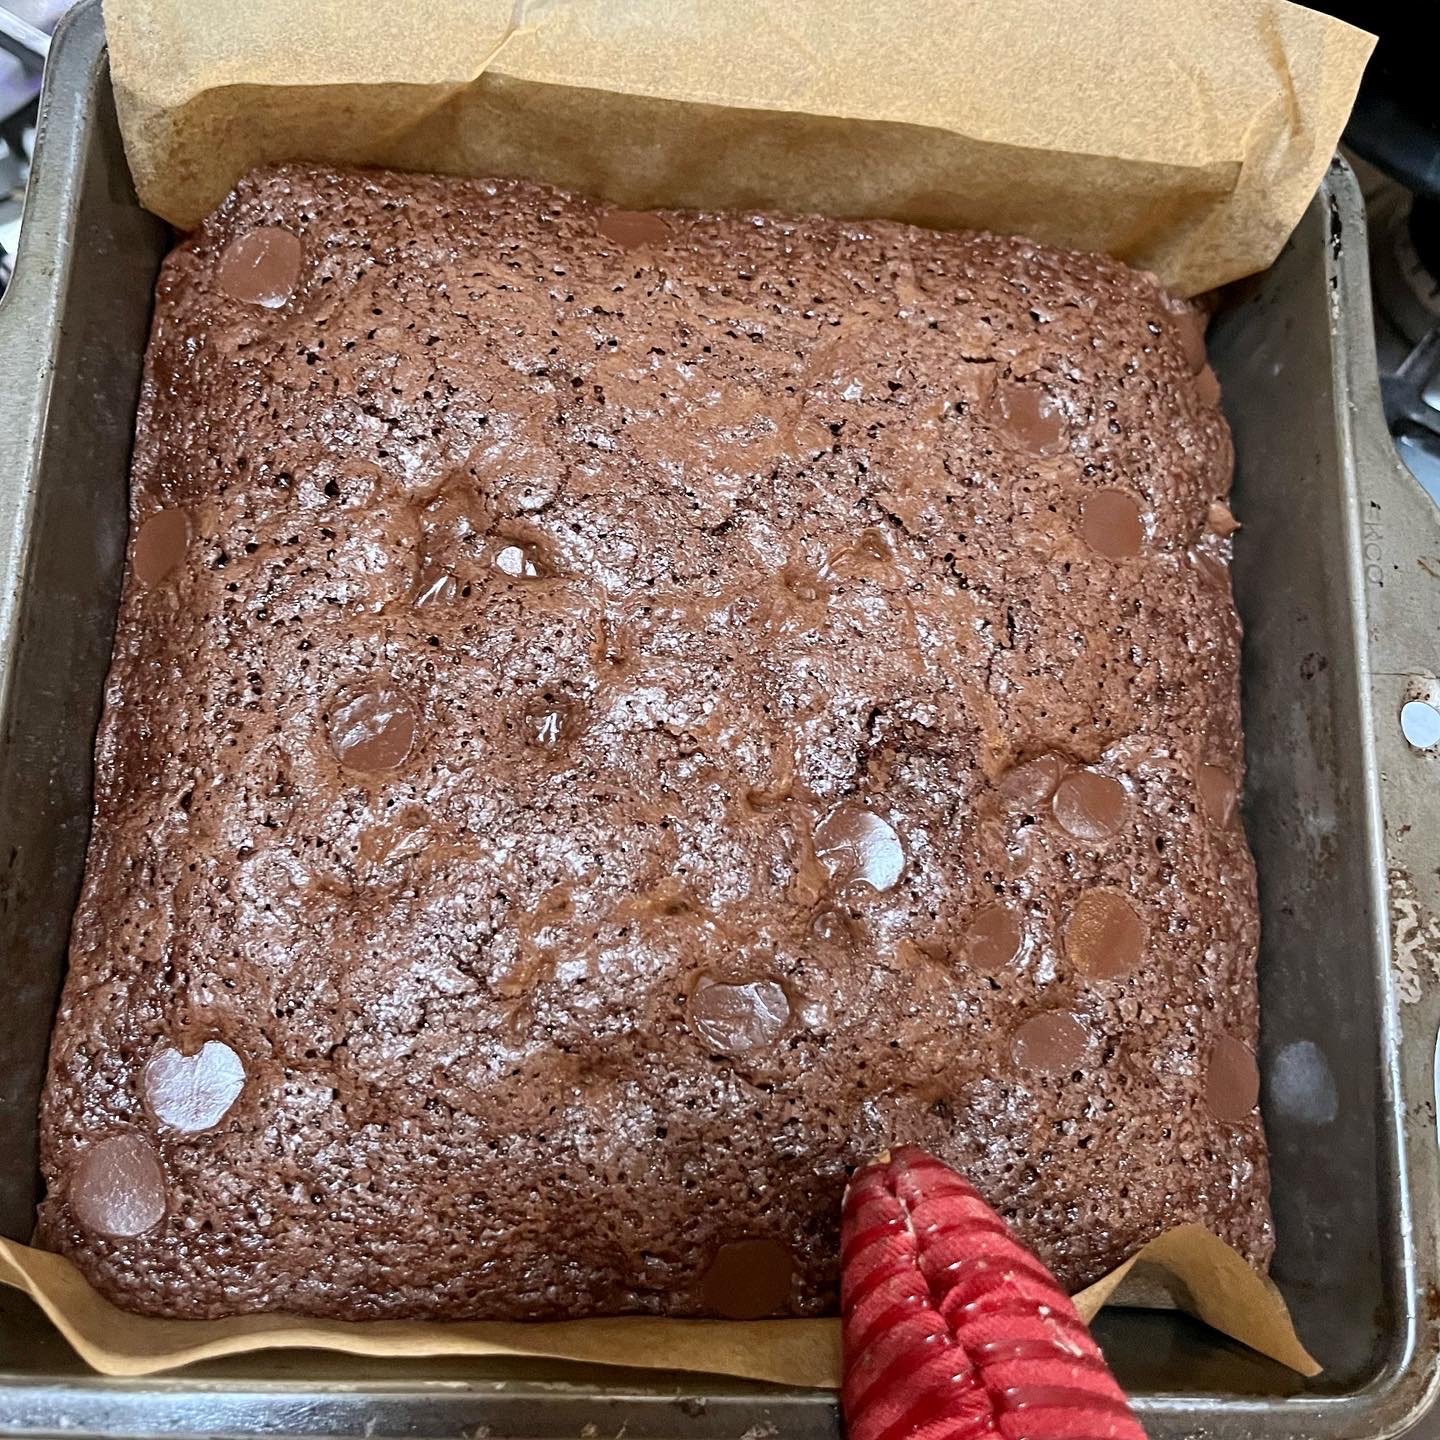
7) Bake brownies for 22 - 25 minutes. I never overbake brownies, as I like them slightly gooey. So when testing for doneness I lightly touch surface and if it doesn't stick to my finger or bounces back a bit, it is finished. Toothpicks often are used to test, but if it comes out clean, the finished product might be dry, as baking doesn't stop the minute you take it out of the oven.
**Carry over baking takes place until the product is cool... for about 5 -6 minutes.

Frosting Prep:
Frosting adds meal appeal, but dusting your brownies with powdered sugar also is an easy way to finish your creation! This recipe is super easy and can be doubled for cakes too. Six ingredients will add that sweet richness you won't be able to resist.


Frosting prep…
1) I often make my frosting in a saucepan too. Start by cutting butter into chunks and placing in bottom of saucepan of medium mixing bowl. Melt butter slowly over low heat.
2) Sprinkle cocoa powder & 1/2 powdered sugar over butter and blend for about 30 seconds. Mixture may be quite dry… add ~ 1 tablespoon milk.
**If using a bowl with softened butter… Beat slowly with hand mixer or wire whisk until smooth.


Next step…
3) Now add rest of powdered sugar, salt, & vanilla. Beat while adding milk slowly, 1 tablespoon at a time until proper consistency is reached. Frosting will start to pull together and away from side of bowl. Adding additional milk in small increments is important, as you can always add more but can't take it out if you add too much. If you find your frosting too thick, add 1 tablespoon at a time until you get a spreadable result.
**Added too much milk? Add ~2 tablespoons of powdered sugar at a time until it thickens up. It's not ruined by any means... remember, cooking is a science and learned through experience!
To frost…
4) Place a large pile of frosting in middle of cooled brownies and push it to spread all over surface. If brownies are soft, resist the urge to press down with too much pressure as this might tear surface and add crumbs into your frosting. Decorate however you choose. I often use a combination of sprinkles and candied coated M&Ms or chips… Often matching the holiday or time of year!
Voila... you have made your first pan of brownies!

Decorate them however you want! chocolate chips, butterscotch chips, colored M&M’s, sprinkles… Mix the colors for whatever holiday you’re celebrating and have fun… Enjoy!!