Chocolate Cherry Cake
Choco-Cherry Cake
This cake is simply irresistible for your Valentine or any day for sure! The combination of chocolate with subtle cherry flavor, frosted or glazed with chocolate is a taste treat and soooo easy too!
Chocolate Cherry Cake
Yield: One 13”x 9” pan or Two 8x8-inch or heart-shaped pans
Half batch makes one 8x8-inch pan or two 6-inch layers
(Can always make two small cakes and give one away too!
Ingredients:
Full 13” x 9”Cake: 8” x 8”/ Heart-shaped pan:
Vegetable spray or butter Vegetable spray or butter
1 package devil’s food cake mix 2 cups devil’s food cake mix(1/2 box)
1 can (21 ounces) cherry pie filling ½ can (~ 1 cup) cherry pie filling
2 large eggs 1 large egg
1 teaspoon almond extract ½ teaspoon almond extract
Glaze:
1 cup granulated sugar ½ cup granulated sugar
6 tablespoons butter, cubed 3 tablespoons butter, cubed
2/3 cup milk 3 tablespoons milk
1 cup semi-sweet chocolate chips ½ cup semi-sweet chocolate chips
1 teaspoon vanilla ½ teaspoon vanilla
Decoration of choice
Frosting recipe…
Double frosting recipe for Simple Fudgy Brownies for 8-inch layer cake. Original brownie frosting recipe for 6-inch layer cake.
Equipment:
Large bowl
Liquid and dry measuring cups
Measuring spoons
Rubber spatula
Hand mixer or standup mixer
13” x 9” or 8”x 8” (heart-shaped pan)
Wire cooling rack (optional)
So Valentine’s Day is coming and many special treats often involve cherries or strawberries for their red color and amazing flavor when combined with chocolate. This recipe is one my Foods 2 students would make during the fruit unit, which often fell during early February. A perfect recipe which allows you to eat cake… making it appear ‘healthy’ because it contains fruit! No? My husband loves this recipe because it contains his favorite fruit, cherries, and often begged for me to bring home the class leftovers. I usually prepare this as his Valentine’s Day treat too!
**It's also crazy how easy it is to make too! The cake needs to be prepared at least two hours before you serve it so if you choose to glaze the cake, it has time to set up.


Preheat oven to 350 F
Lightly mist your pan(s) with vegetable spray and set aside. For layer cakes, line pans with parchment paper after applying spray. Place all cake ingredients; cake mix, pie filling, egg(s), and almond extract, into large bowl or standup mixer bowl. (Mixes best with eggs in bottom of bowl first.)


Blend ingredients on low speed for about one minute or ingredients are combined. Stop mixer and scrap down sides of bowl with rubber spatula, to ensure all cake mix is mixed in. Continue to mix cake batter using medium speed for 2 minutes more. Resist the temptation to over mix the batter as this will cause tunnels and holes in your final cake product. Cherries will also break up as batter is blended. They may be visible but will bake in to cake.

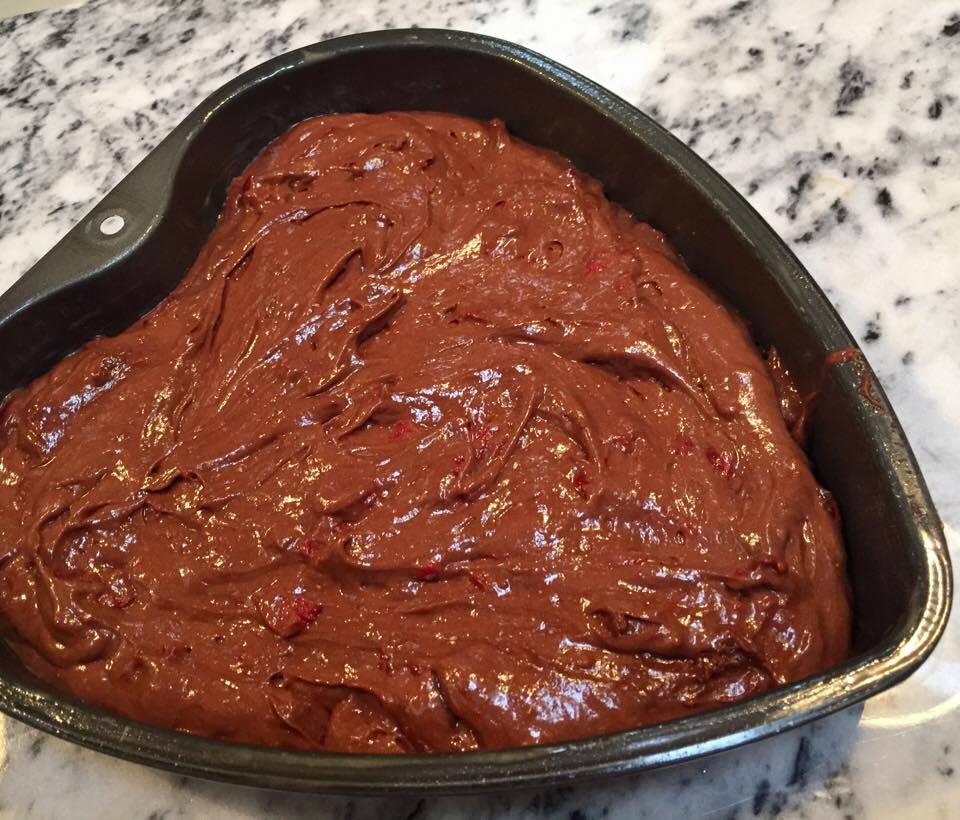

Pour batter into cake pan of choice and smooth top to level using rubber spatula. For layers, evenly distribute batter between two pans and level.


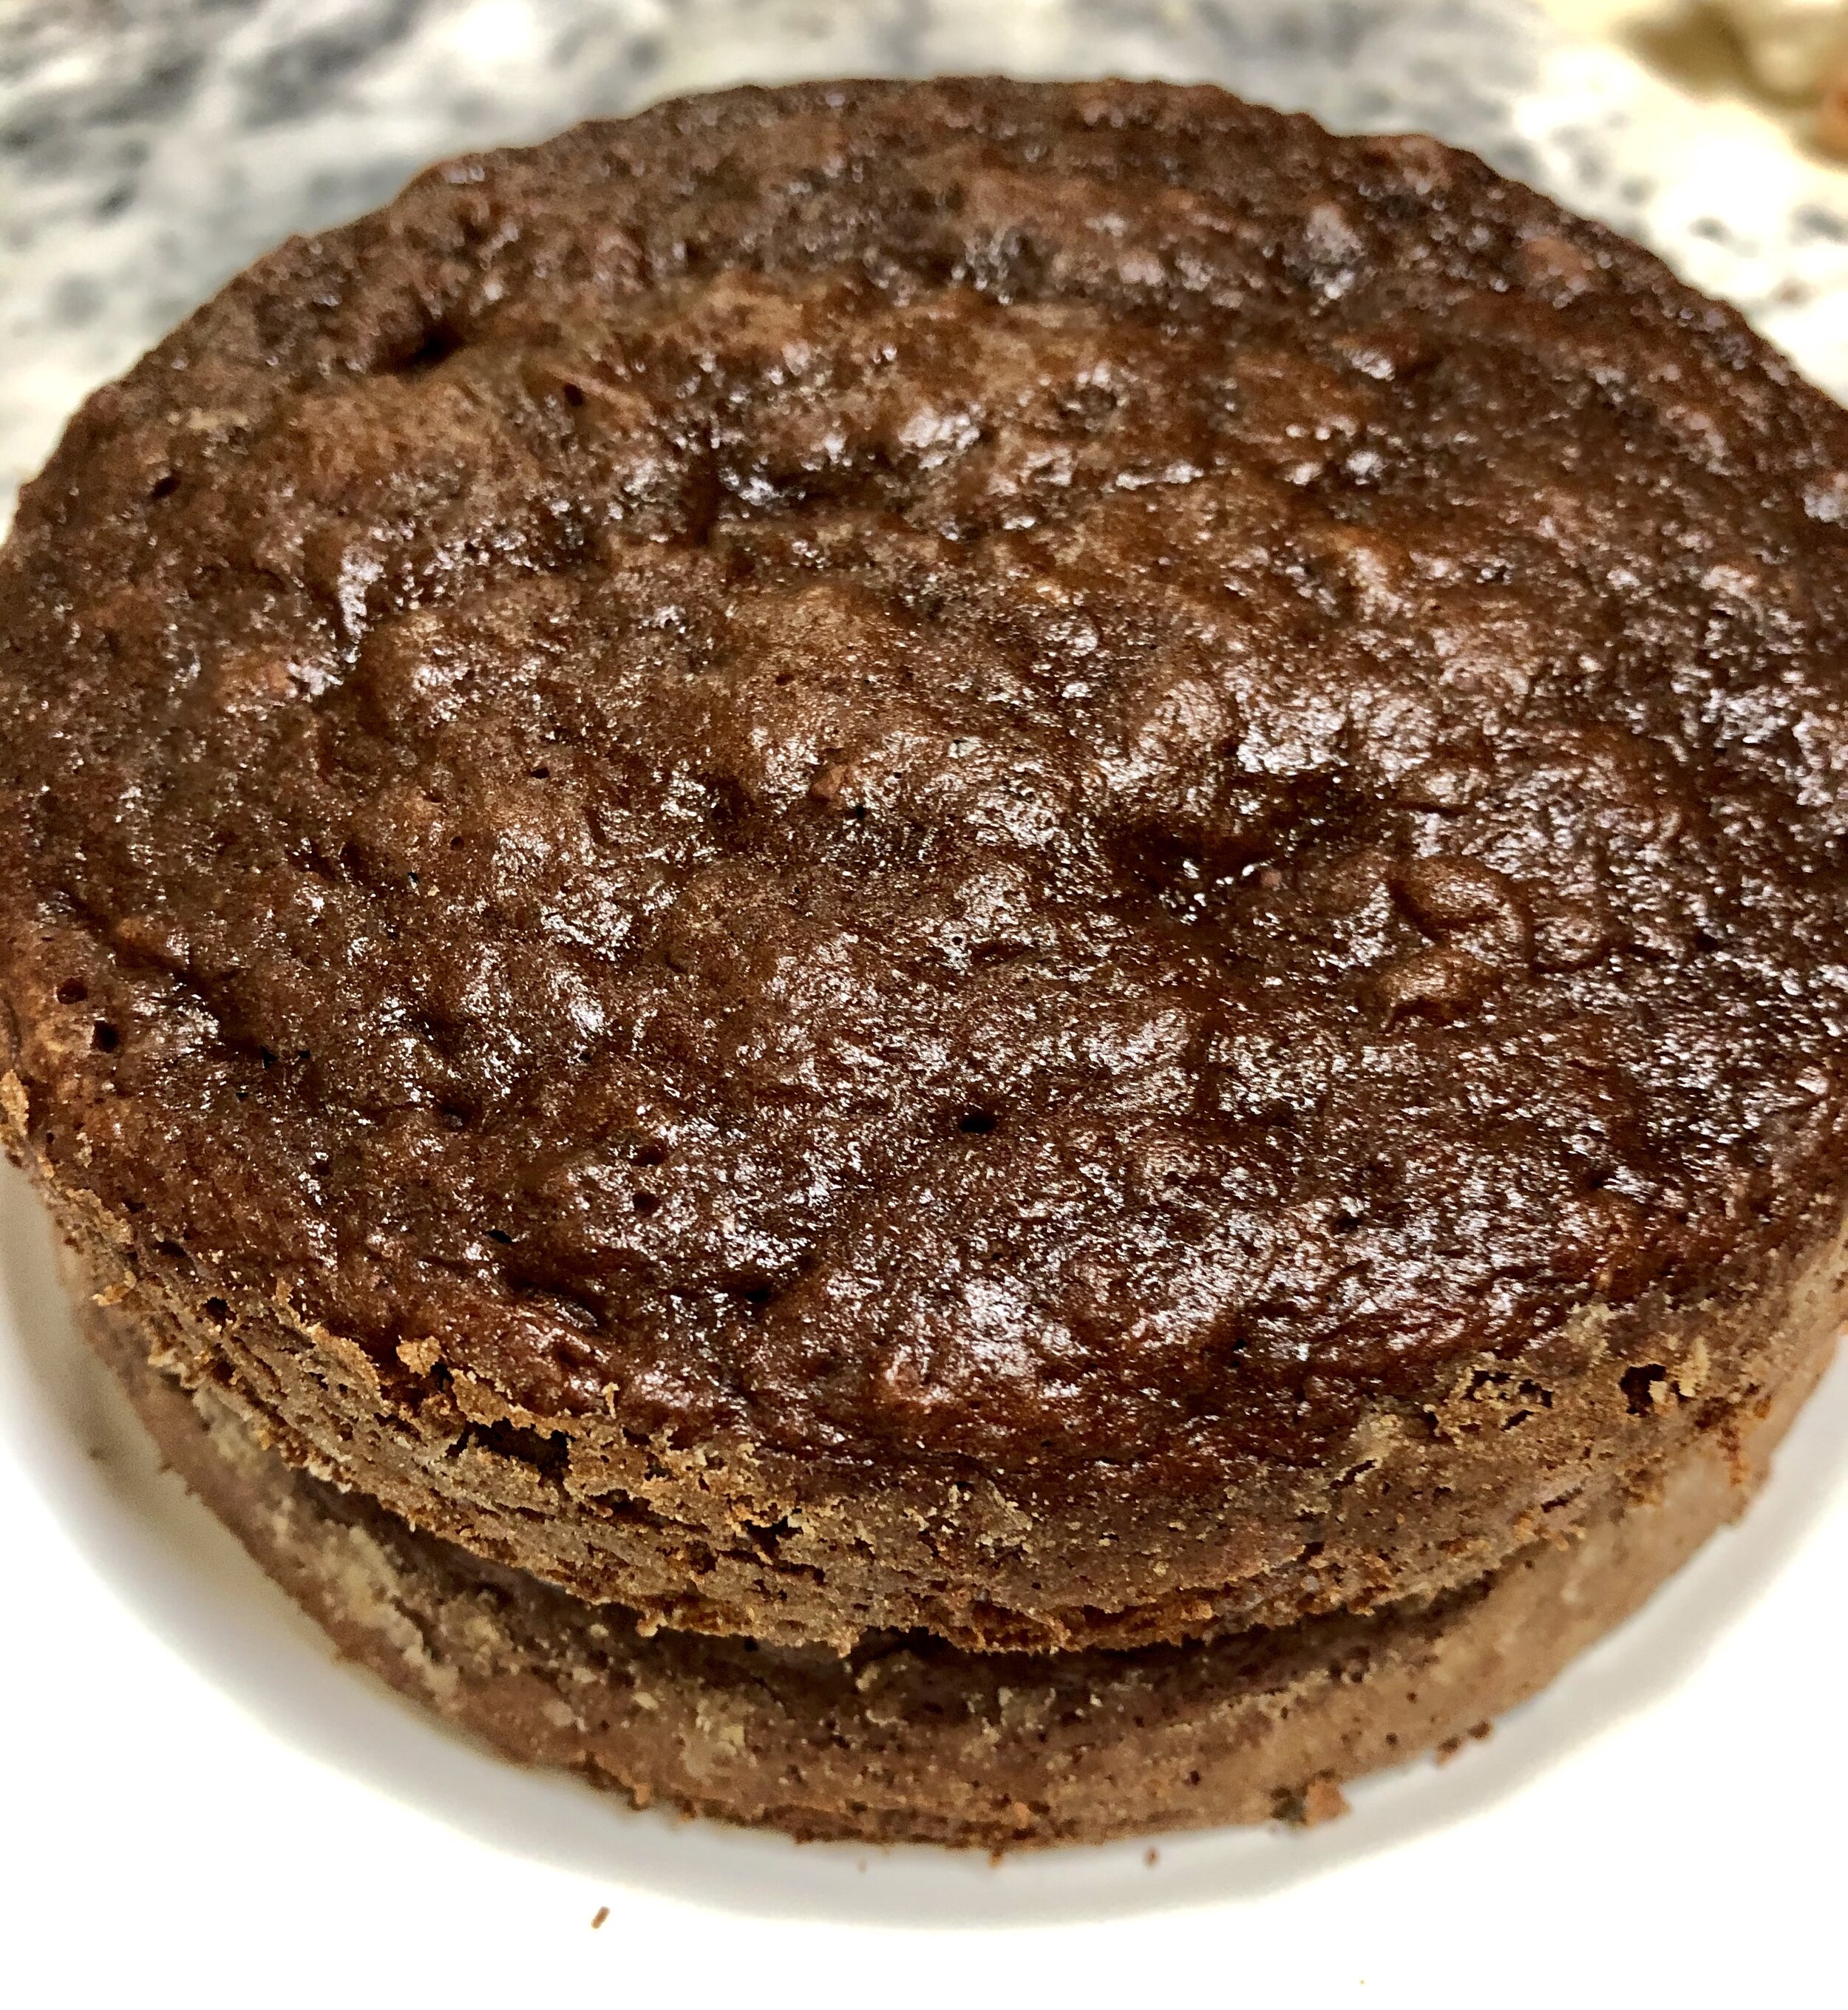
Bake cake until done. 24- 26 minutes for 8” x 8”/ heart-shaped pans, 20 - 22 minutes for 6-inch layers or 30 – 35 minutes for 13”x 9” pan. Insert a toothpick into middle of cake. It should come out clean or with very little cake attached. Using your finger and lightly pressing on cake surface works well too. Cake should bounce back when lightly pressed and start to pull away from the sides of pan. If cake is not done, continue baking for a few more minutes. Remove cake from oven and leave in pan, on wire rack or stove top grate, while you make glaze. If making layers, allow to reset for 10 minutes. Loosen cake edges with a knife & invert onto a cooling rack.
Glaze:
This glaze recipe is so easy and gets poured right over warm cake in pan. It hardens into a glossy finish which looks amazing!
Frosting:
Frost cakes when totally cooled. For layers, spread center with cherry jam for additional moistness and cherry flavor. Recipe for frosting located at Simple Fudgy Brownies.
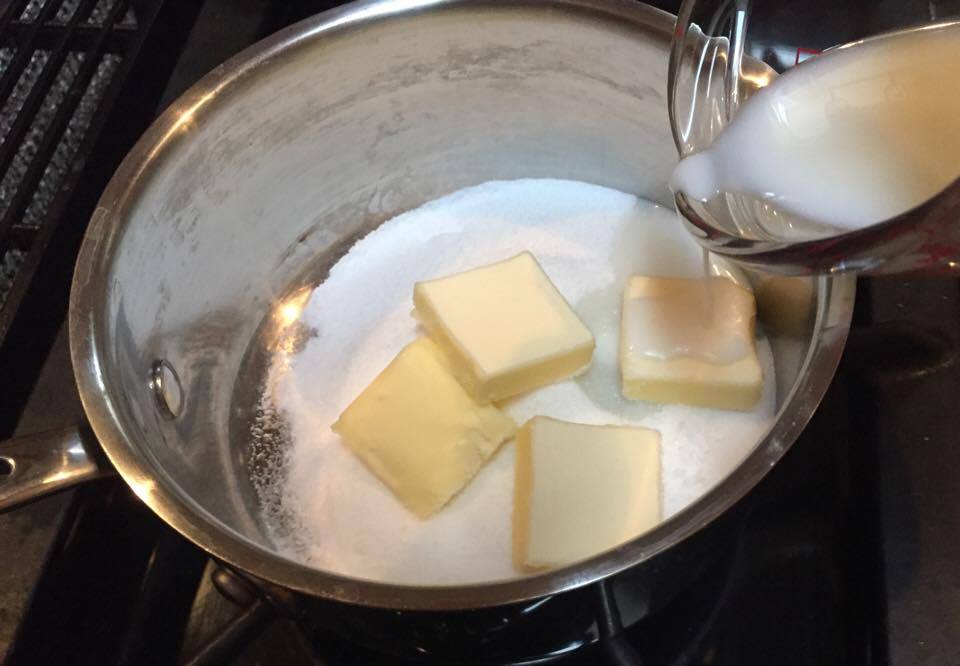

Place sugar, milk and butter into 1 quart saucepan. Heat over medium heat until mixture comes to a boil, stirring constantly. Remember, constantly means slowly in a figure eight pattern allowing mixture to heat while ensuring it doesn't burn or stick.


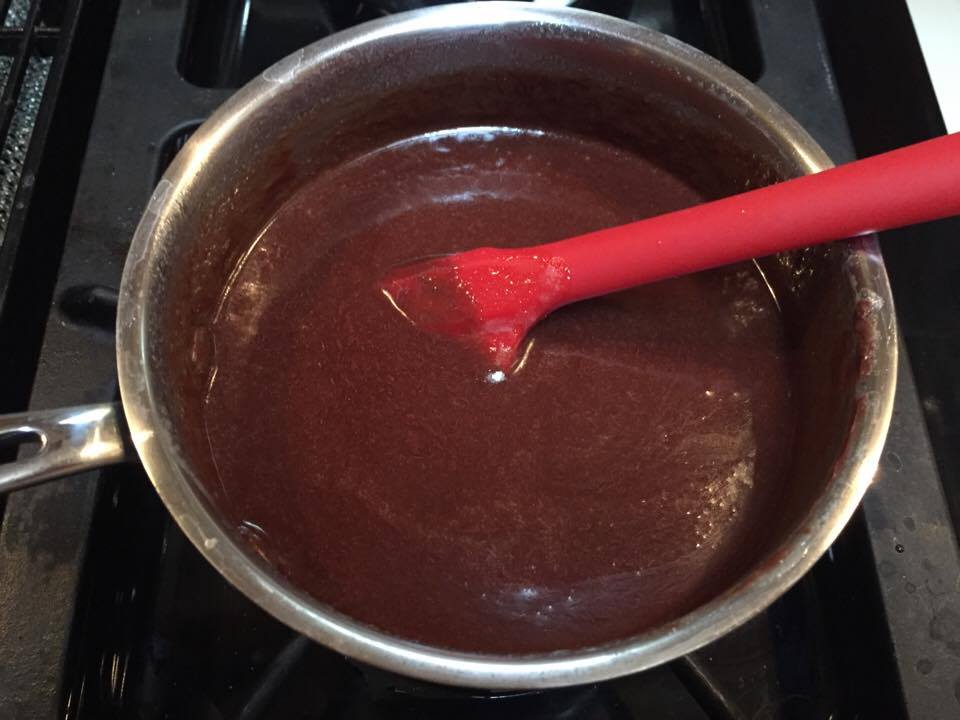
When glaze comes to a boil, continue stirring and adjust heat lower to ensure it doesn't boil over pan. Boil should be rolling as pictured for one minute. Don't over cook or your glaze will be grainy and rock hard as it cools.
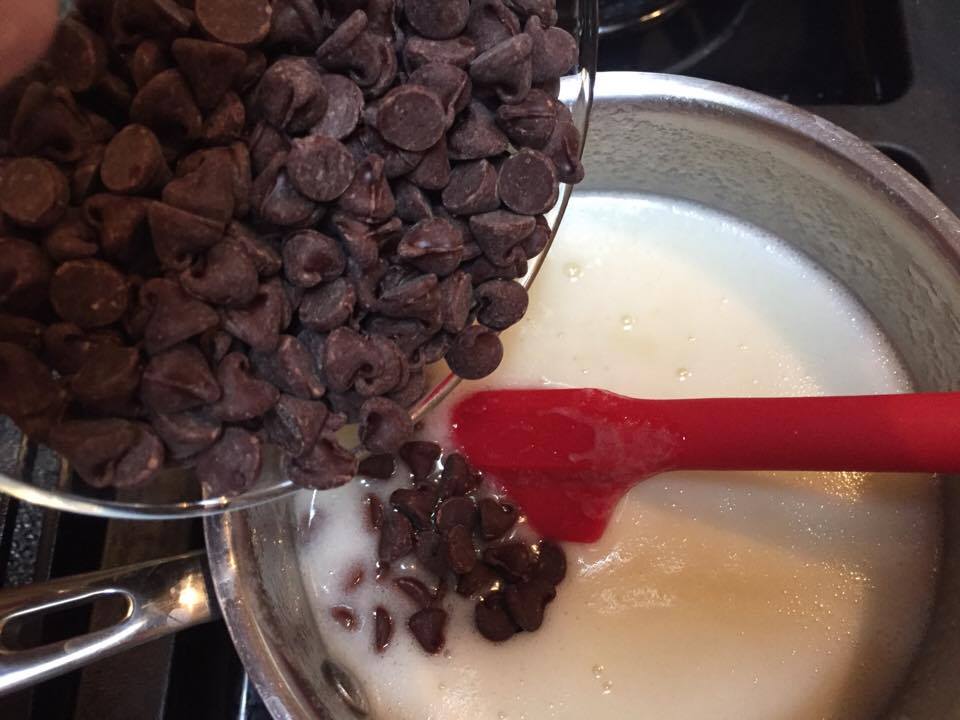
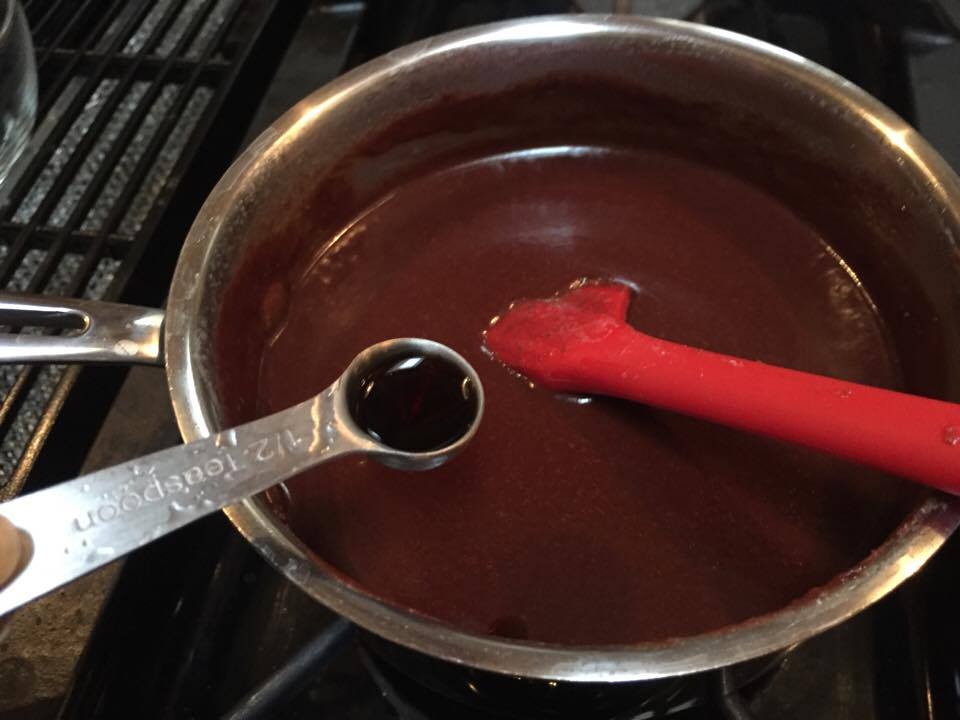
Turn off heat and remove saucepan from stovetop. Add chocolate chips and stir with rubber spatula until smooth and chocolate is melted. Add vanilla and stir well.


Now it is time to pour glaze over your cake. Slowly pour over top ensuring middle is covered as well as sides. Often glaze runs into space along pan edge, so make sure you go back and re-coat center of cake.
For frosting, spread frosting or jam in center of cake. Place second layer on top. Frost cake as shown.
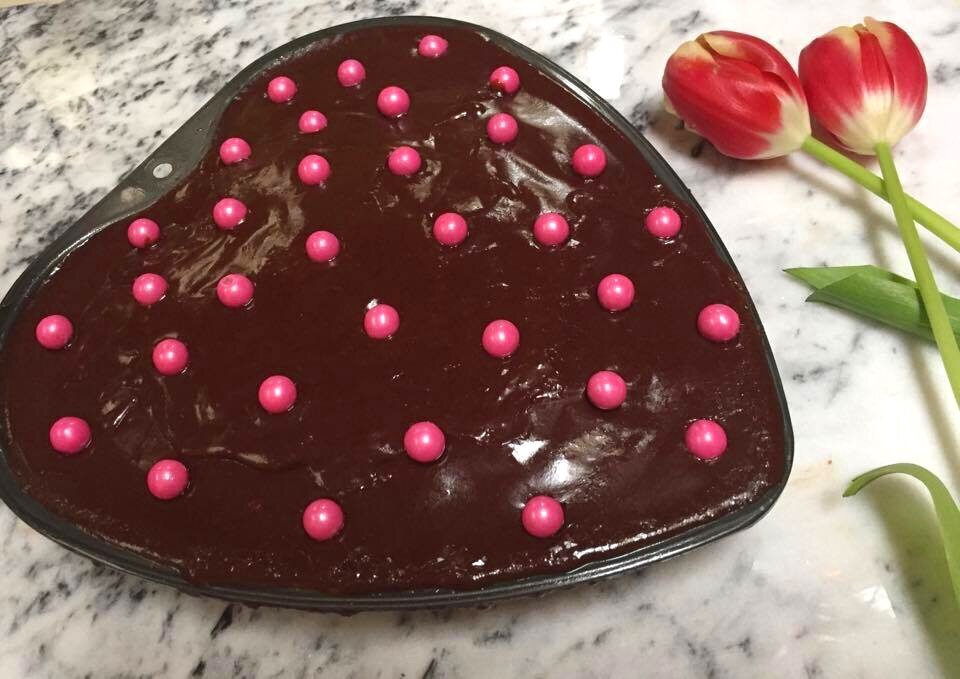

Now you can decorate your cake! I often use sprinkles, chocolate chips, canned cherries or some fun novelty decoration I find in the cake department of most craft stores.
** Note: This cake can also be made into two round layer cakes. Make sure you line cake with waxed paper or parchment as instructed in Lila’s Luscious Lemon Cake. Frosting from Simple Fudgy Brownies can be doubled to frost two layers as well.