Hearty Chili
Hearty Chili
The thermostat is reading below zero, so I feel like making a pot of chili! Making a pot of this easy, hearty, and healthy chili will satisfy everyones appetite. This chili will make the perfect pot ‘o yum for a large or small gathering… or plenty to freeze for later too.
Hearty Chili
Yield: 10 - 12 servings
Ingredients:
1 ½ pounds ground meat (lean beef or turkey)
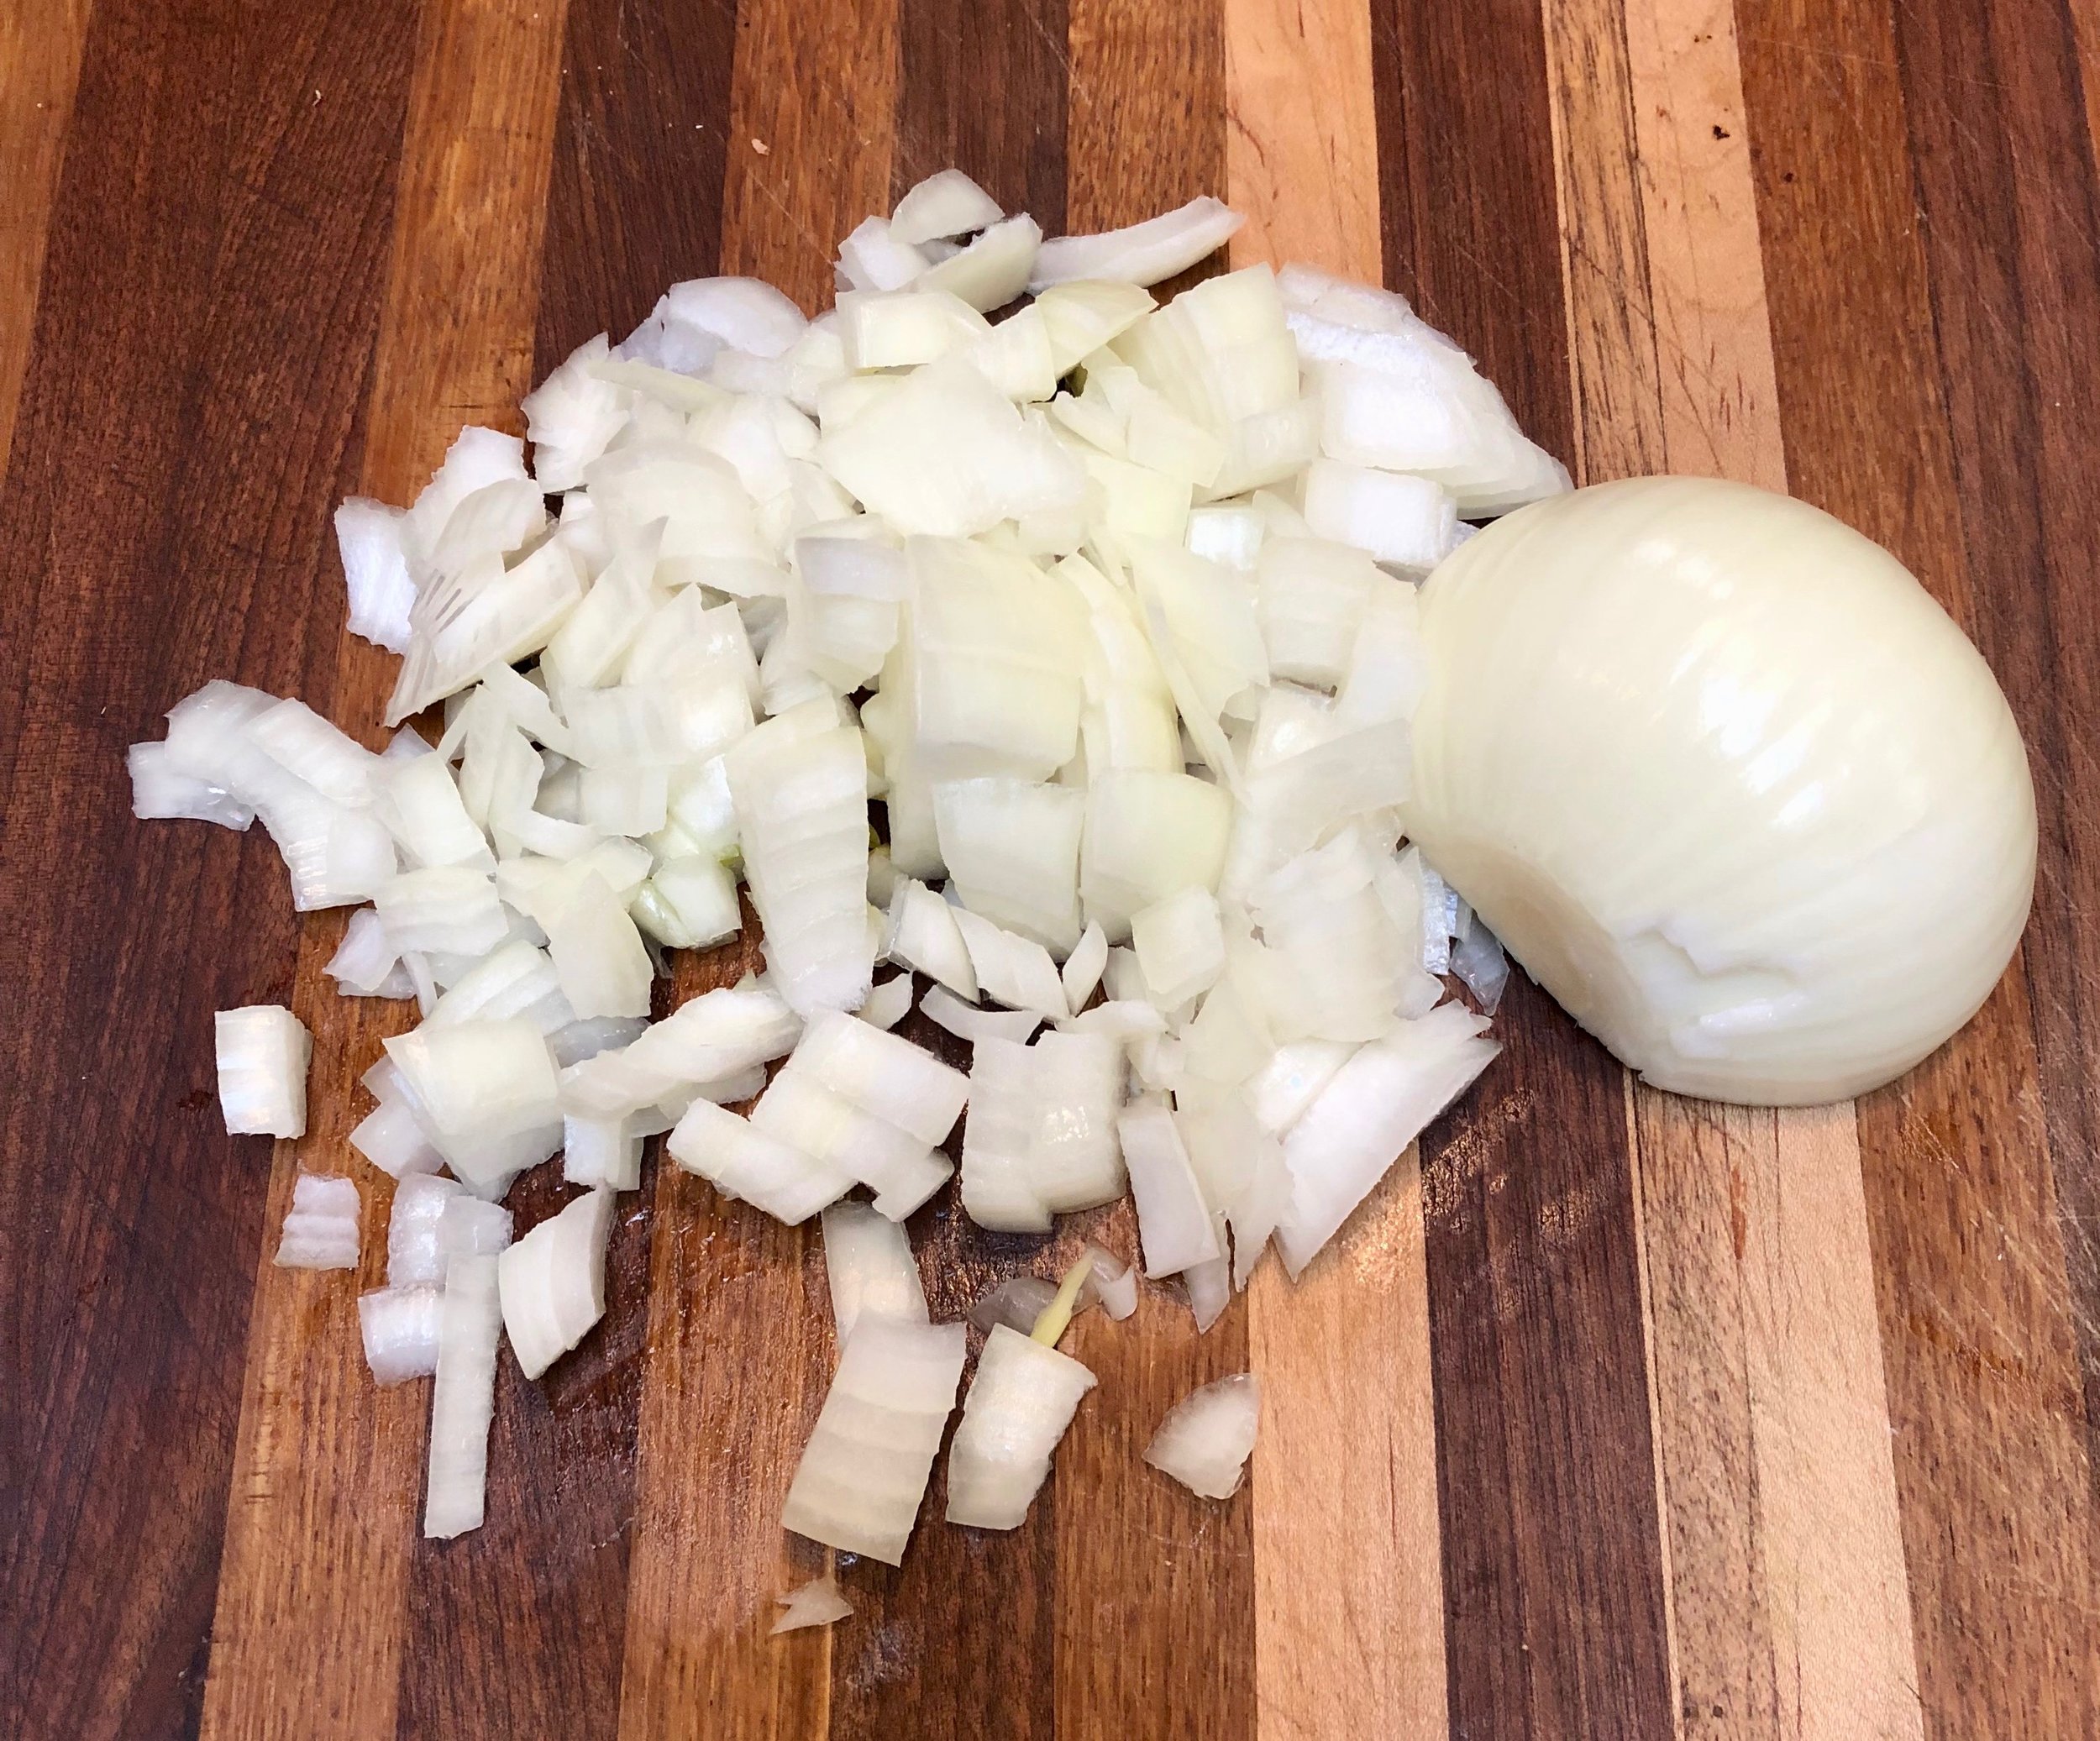
1 large onion, chopped (~1 cup)
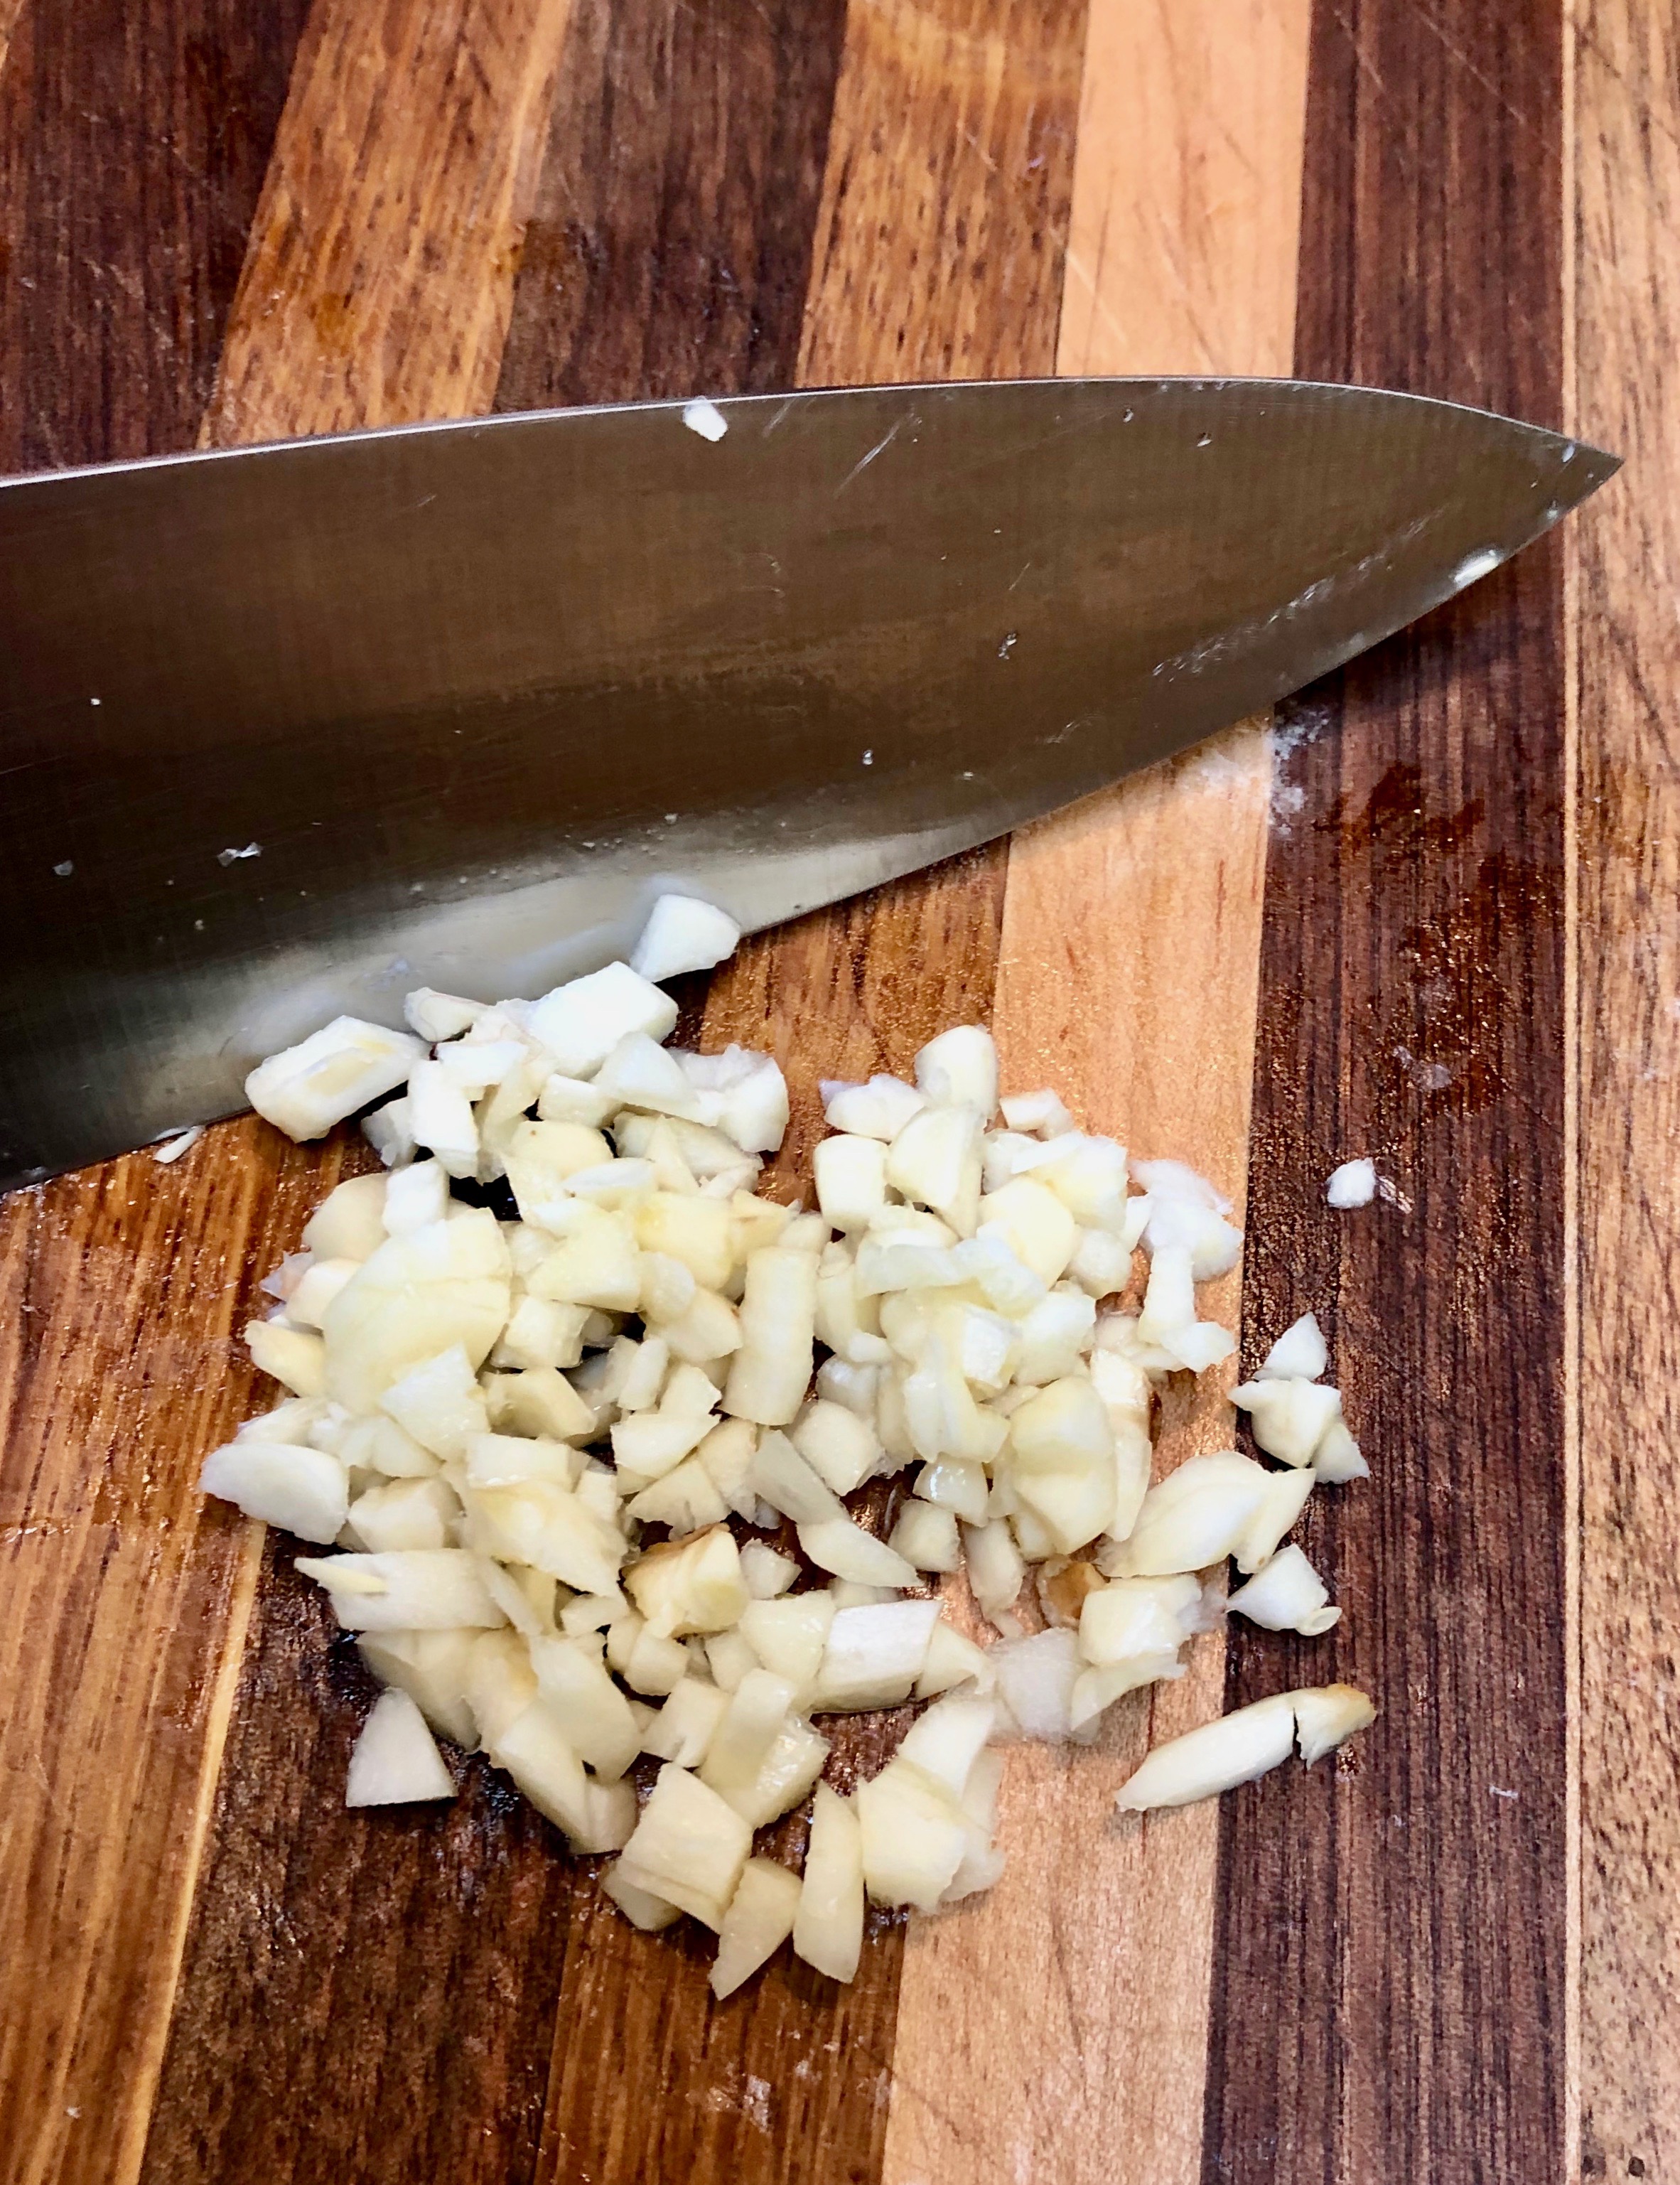
3 – 4 cloves garlic, minced
1 – 28 ounce can diced tomatoes, undrained
Optional: 1 – 4 ounce can green chilies, chopped
3 tablespoons chili powder
1 teaspoon salt
¼ - ½ teaspoon cayenne pepper
2 teaspoons cumin
2 - 3 15 ounce cans assorted canned beans (black, navy, kidney, red, etc), drained
2 cups beef broth
Optional:
1 - 2 tablespoon brown sugar, for a sweeter chili
1 1/2 teaspoons cocoa powder
½ teaspoon red pepper sauce
1 – 2 fresh jalapeño peppers, diced
Garnishes: Shredded cheese, chopped raw onion, sour cream, fresh cilantro leaves, saltine or oyster crackers or corn chips
** Additions:
Bell peppers, yellow, orange or red, diced
Corn
Extra can of beans
Adobo/ Chipolte peppers, canned
Equipment Needed:
Chef knife
Cutting board
Measuring spoons
Liquid and dry measuring cups
Can opener
Bamboo or rubber spatula
6 quart pot
Ladle

So when it starts getting chilly out and especially when the temps goes below 0 degrees… Chili is on my stove! A hot steaming bowl of hearty chili. Comfort food for sure! It’s also the easiest dish on the planet to prepare. Literally chopping, sautéing, dump in a few cans and… let it cook for a few hours. Really healthy, as it has lean protein, complex carbohydrates and a wee bit of fat… tons of vitamins and minerals too. Football season, Super Bowl, March Madness… doesn’t matter, a gathering family and friends calls for chili! Let’s make a pot!
I make chili anytime, but especially when “it’s really cold out there”. This recipe can be prepared on the stovetop or in a slow cooker.
Slow cooker method…
Super simple… Just dumps all the ingredients together, give it a stir and turn it on low for the day. Come home 8 – 10 hours later… and dinner’s ready. (Sometimes I brown the meat first.)
Stovetop method… Which is my preferred way to make chili.
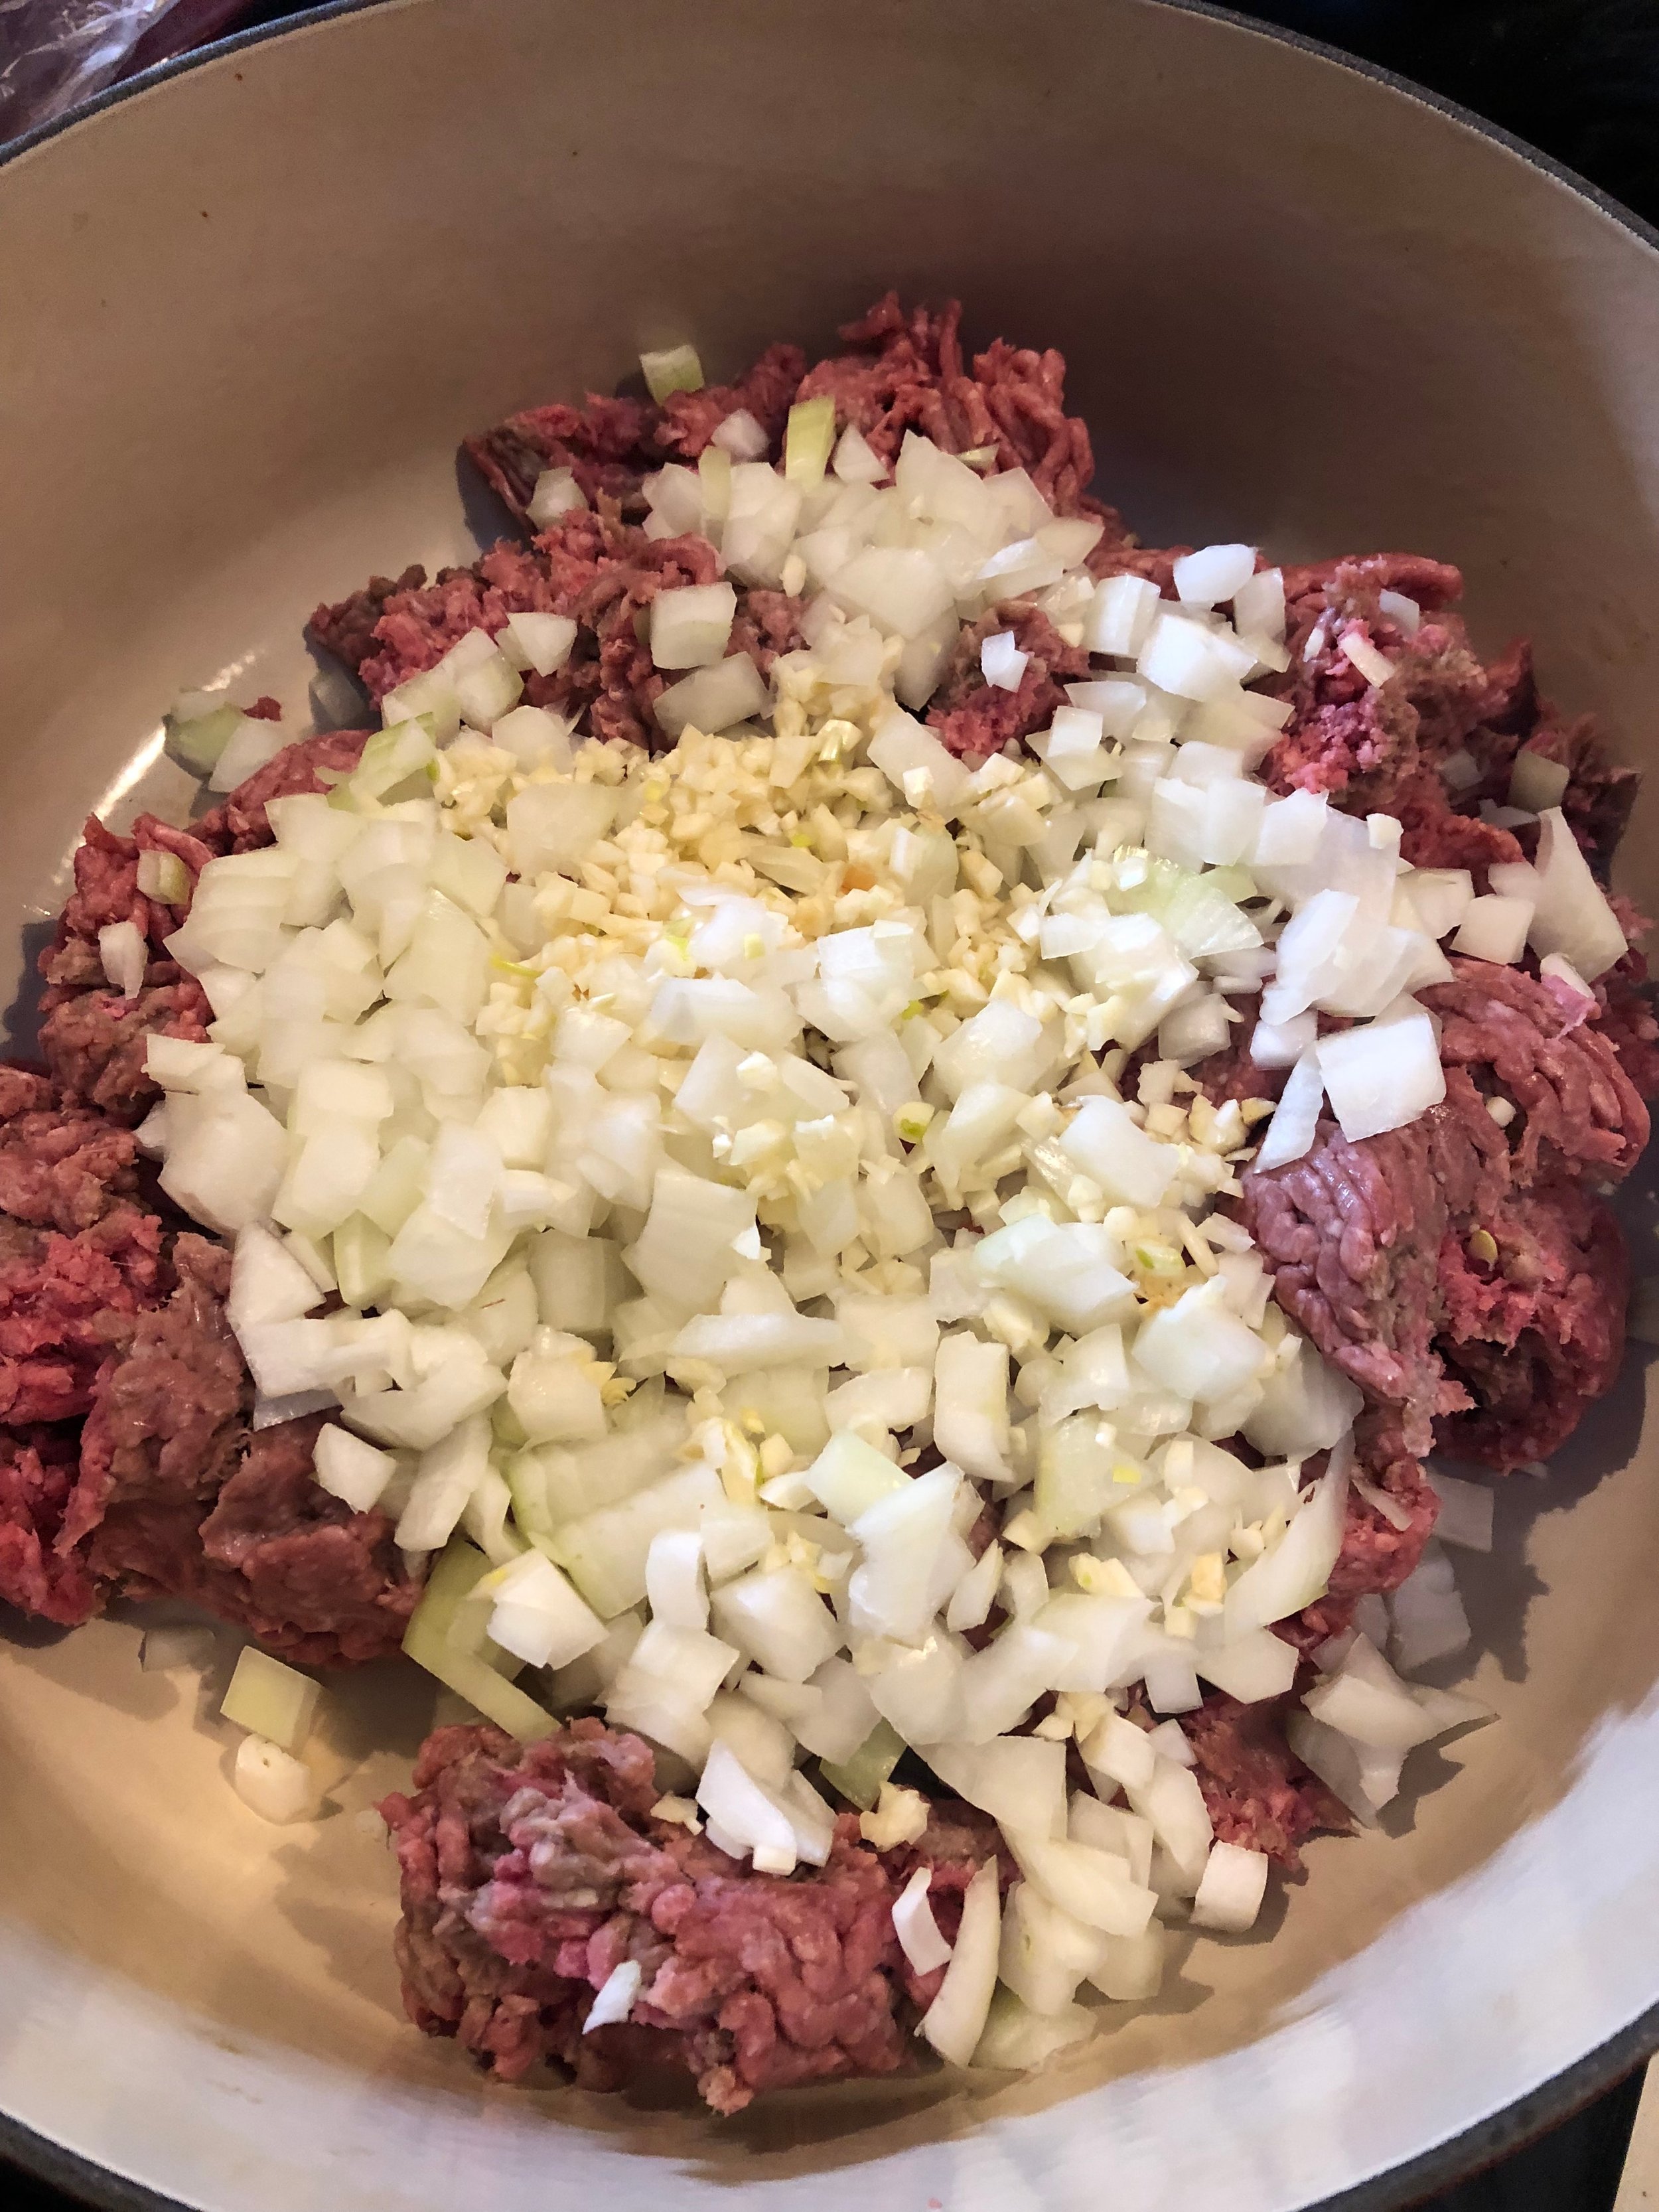
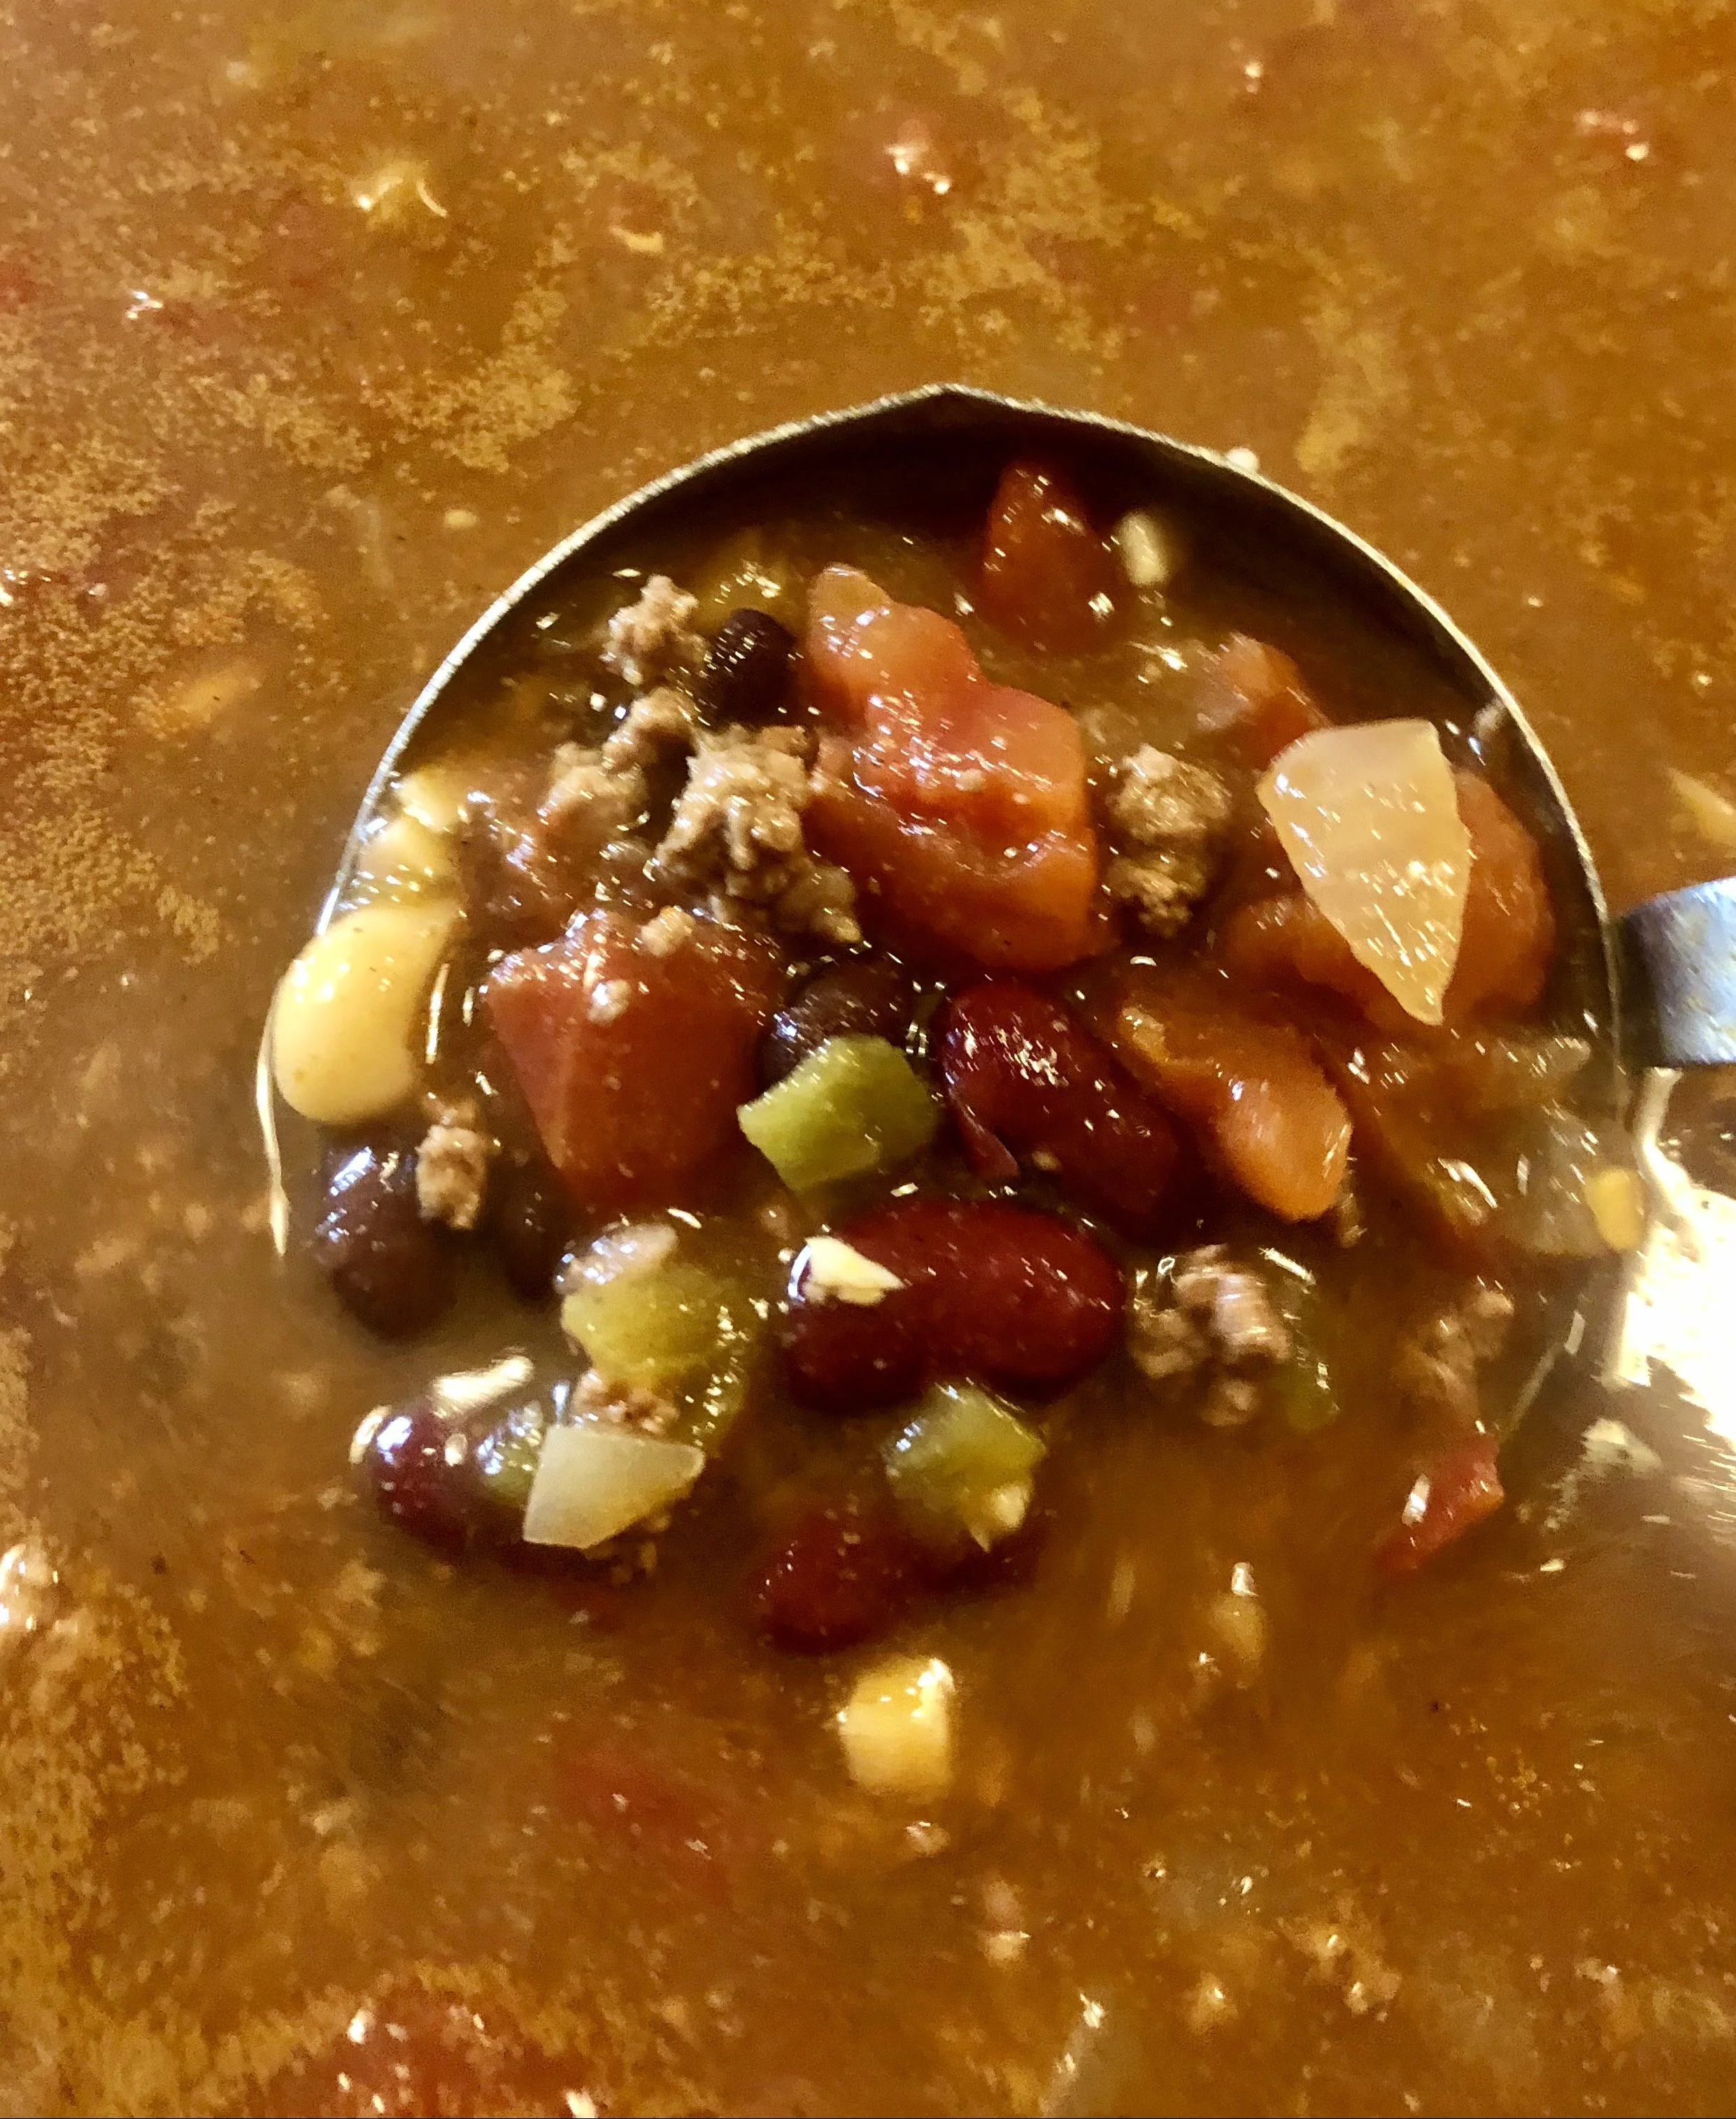
Grab a large 6 quart pot and set it over medium high heat for 3 – 4 minutes. Add the meat, onions and garlic inside to sauté and listen to it sizzle. Stir periodically and sauté for 5 -7 minutes or until the meat is no longer pink. If using lean ground chuck or round, there shouldn’t be very much fat created. If so, carefully remove it by using a turkey baster or ladle and tilting the pot for easy removal.


Next Step…is the addition of the tomatoes and peppers.
Place the undrained can of tomatoes, or in my case about 4 cups of processed homegrown ones. Occasionally I will add a cup of tomato juice too. DependIng on how much heat you want in your final product… you can use leftover Bloody Mary mix too!
Continue with the addition of diced jalapeños. I cut my jalapeño peppers on a plate so the juices from the peppers doesn’t linger on or in my cutting board. I love jalapeño, but only on the food it’s intended to be added to. Also, gloves might be a good idea to wear when you cut them. Many a time I have rubbed my eyes a day later, only to have it burning from the capsaicin residue from the peppers. Handle them gingerly as you dice them small… add to the pot and stir well. I love spicier chili and often add ¼ to ½ can Adobo or chipotle peppers or a can of chopped green chilies.
If you choose to add bell peppers, corn or any other ingredients…this is the time to add those too. I usually don’t used green bell peppers as I find their flavor tends to over power the chili. Orange and yellow peppers provide extra color and texture too, not mention nutrients.
**If your guests don’t like hot and spicy chili, extra bowls of chopped peppers make great garnishes too.


Almost finished!
Sprinkle all the spices and seasonings on top of the pot and give it a stir. Many people question my addition of cocoa powder to my chili, but I find it adds a hearty dimension that’s rich not chocolatey. Sugar depends on your taste too… My hubby prefers it sweeter, so I add a little brown sugar!
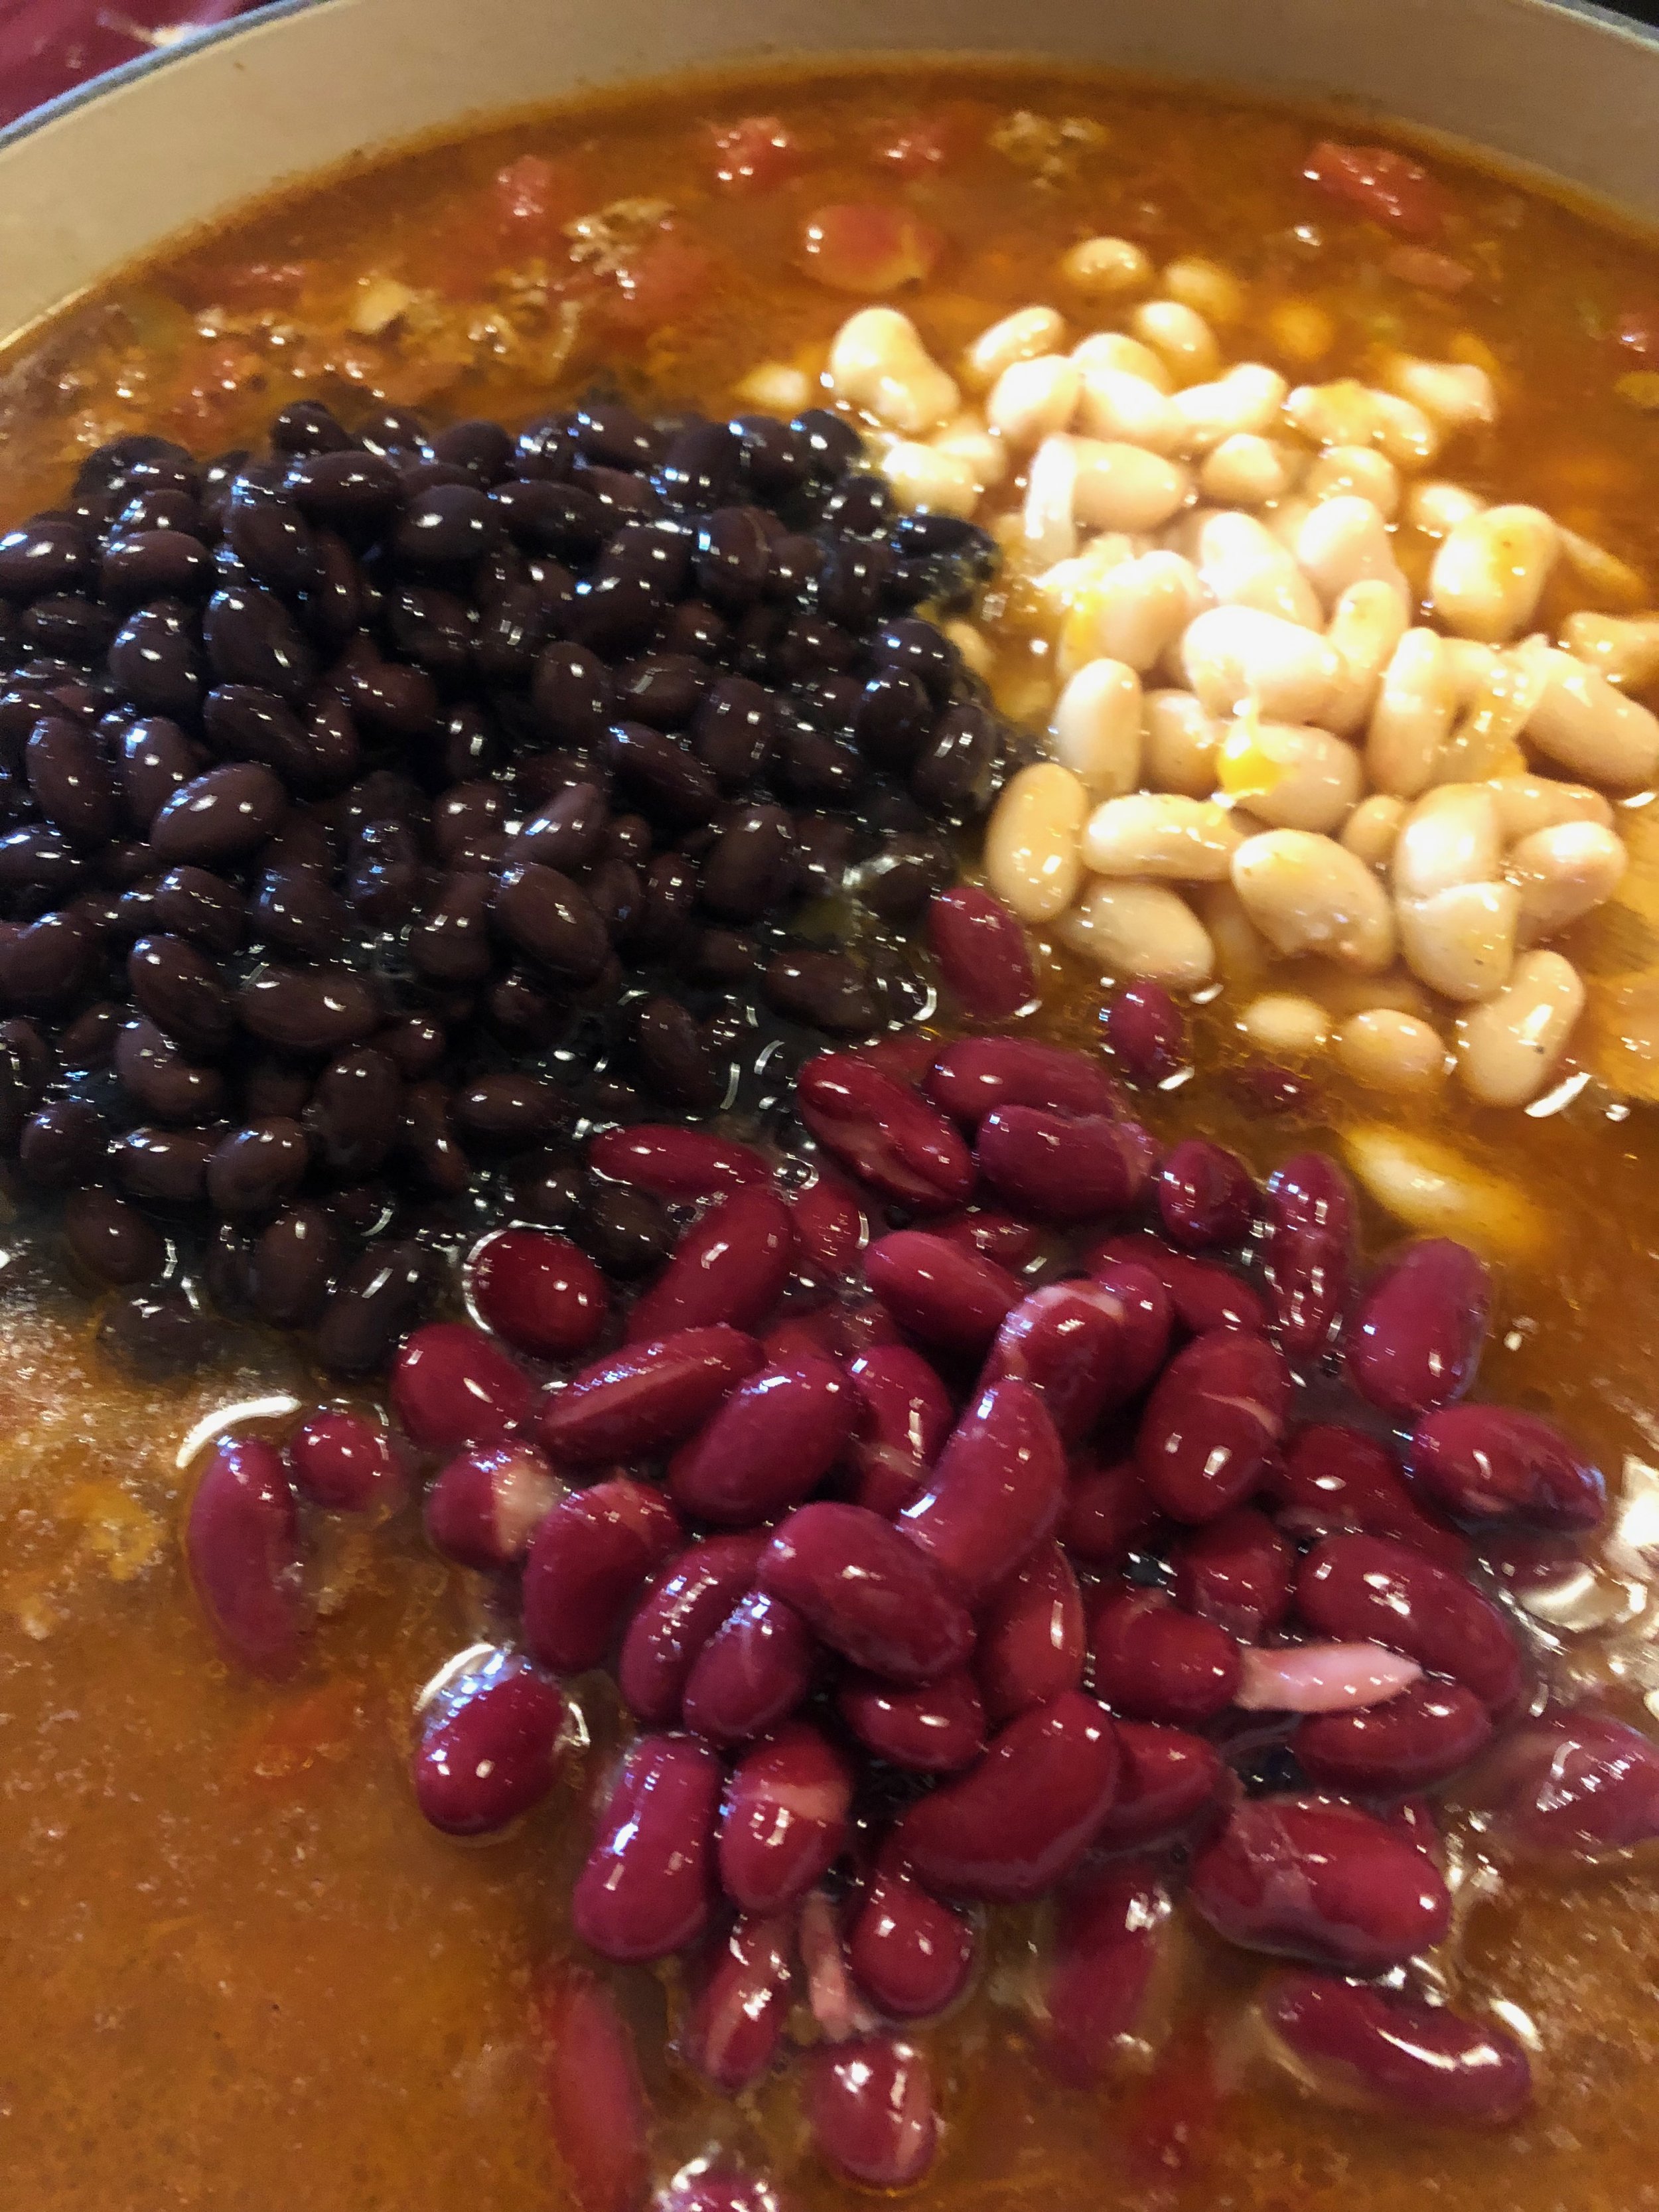
Next add the drained or undrained beans to the mix. Yes… I don’t drain them and add the nutrients in the juices from canning the beans. I prefer red beans to kidney beans due to their texture difference, but whatever your bean preference… go for it. My family LOVES beans in chili, so I usually add three different types (sometimes more)… black, navy, red and sometimes butter beans. Great meal appeal as well with the different shapes and colors.
Last item to add is the beef broth. If you prefer to use beef base, substitute 2 cups water and 1 tablespoon beef soup base to replace the broth. I always have soup base in the house, so I prefer that… it’s also less expensive. Taste the batch and adjust the seasoning after is cooks for awhile. Now it’s time to stir the pot, so to speak, and let it cook! The house will smell amazing too!
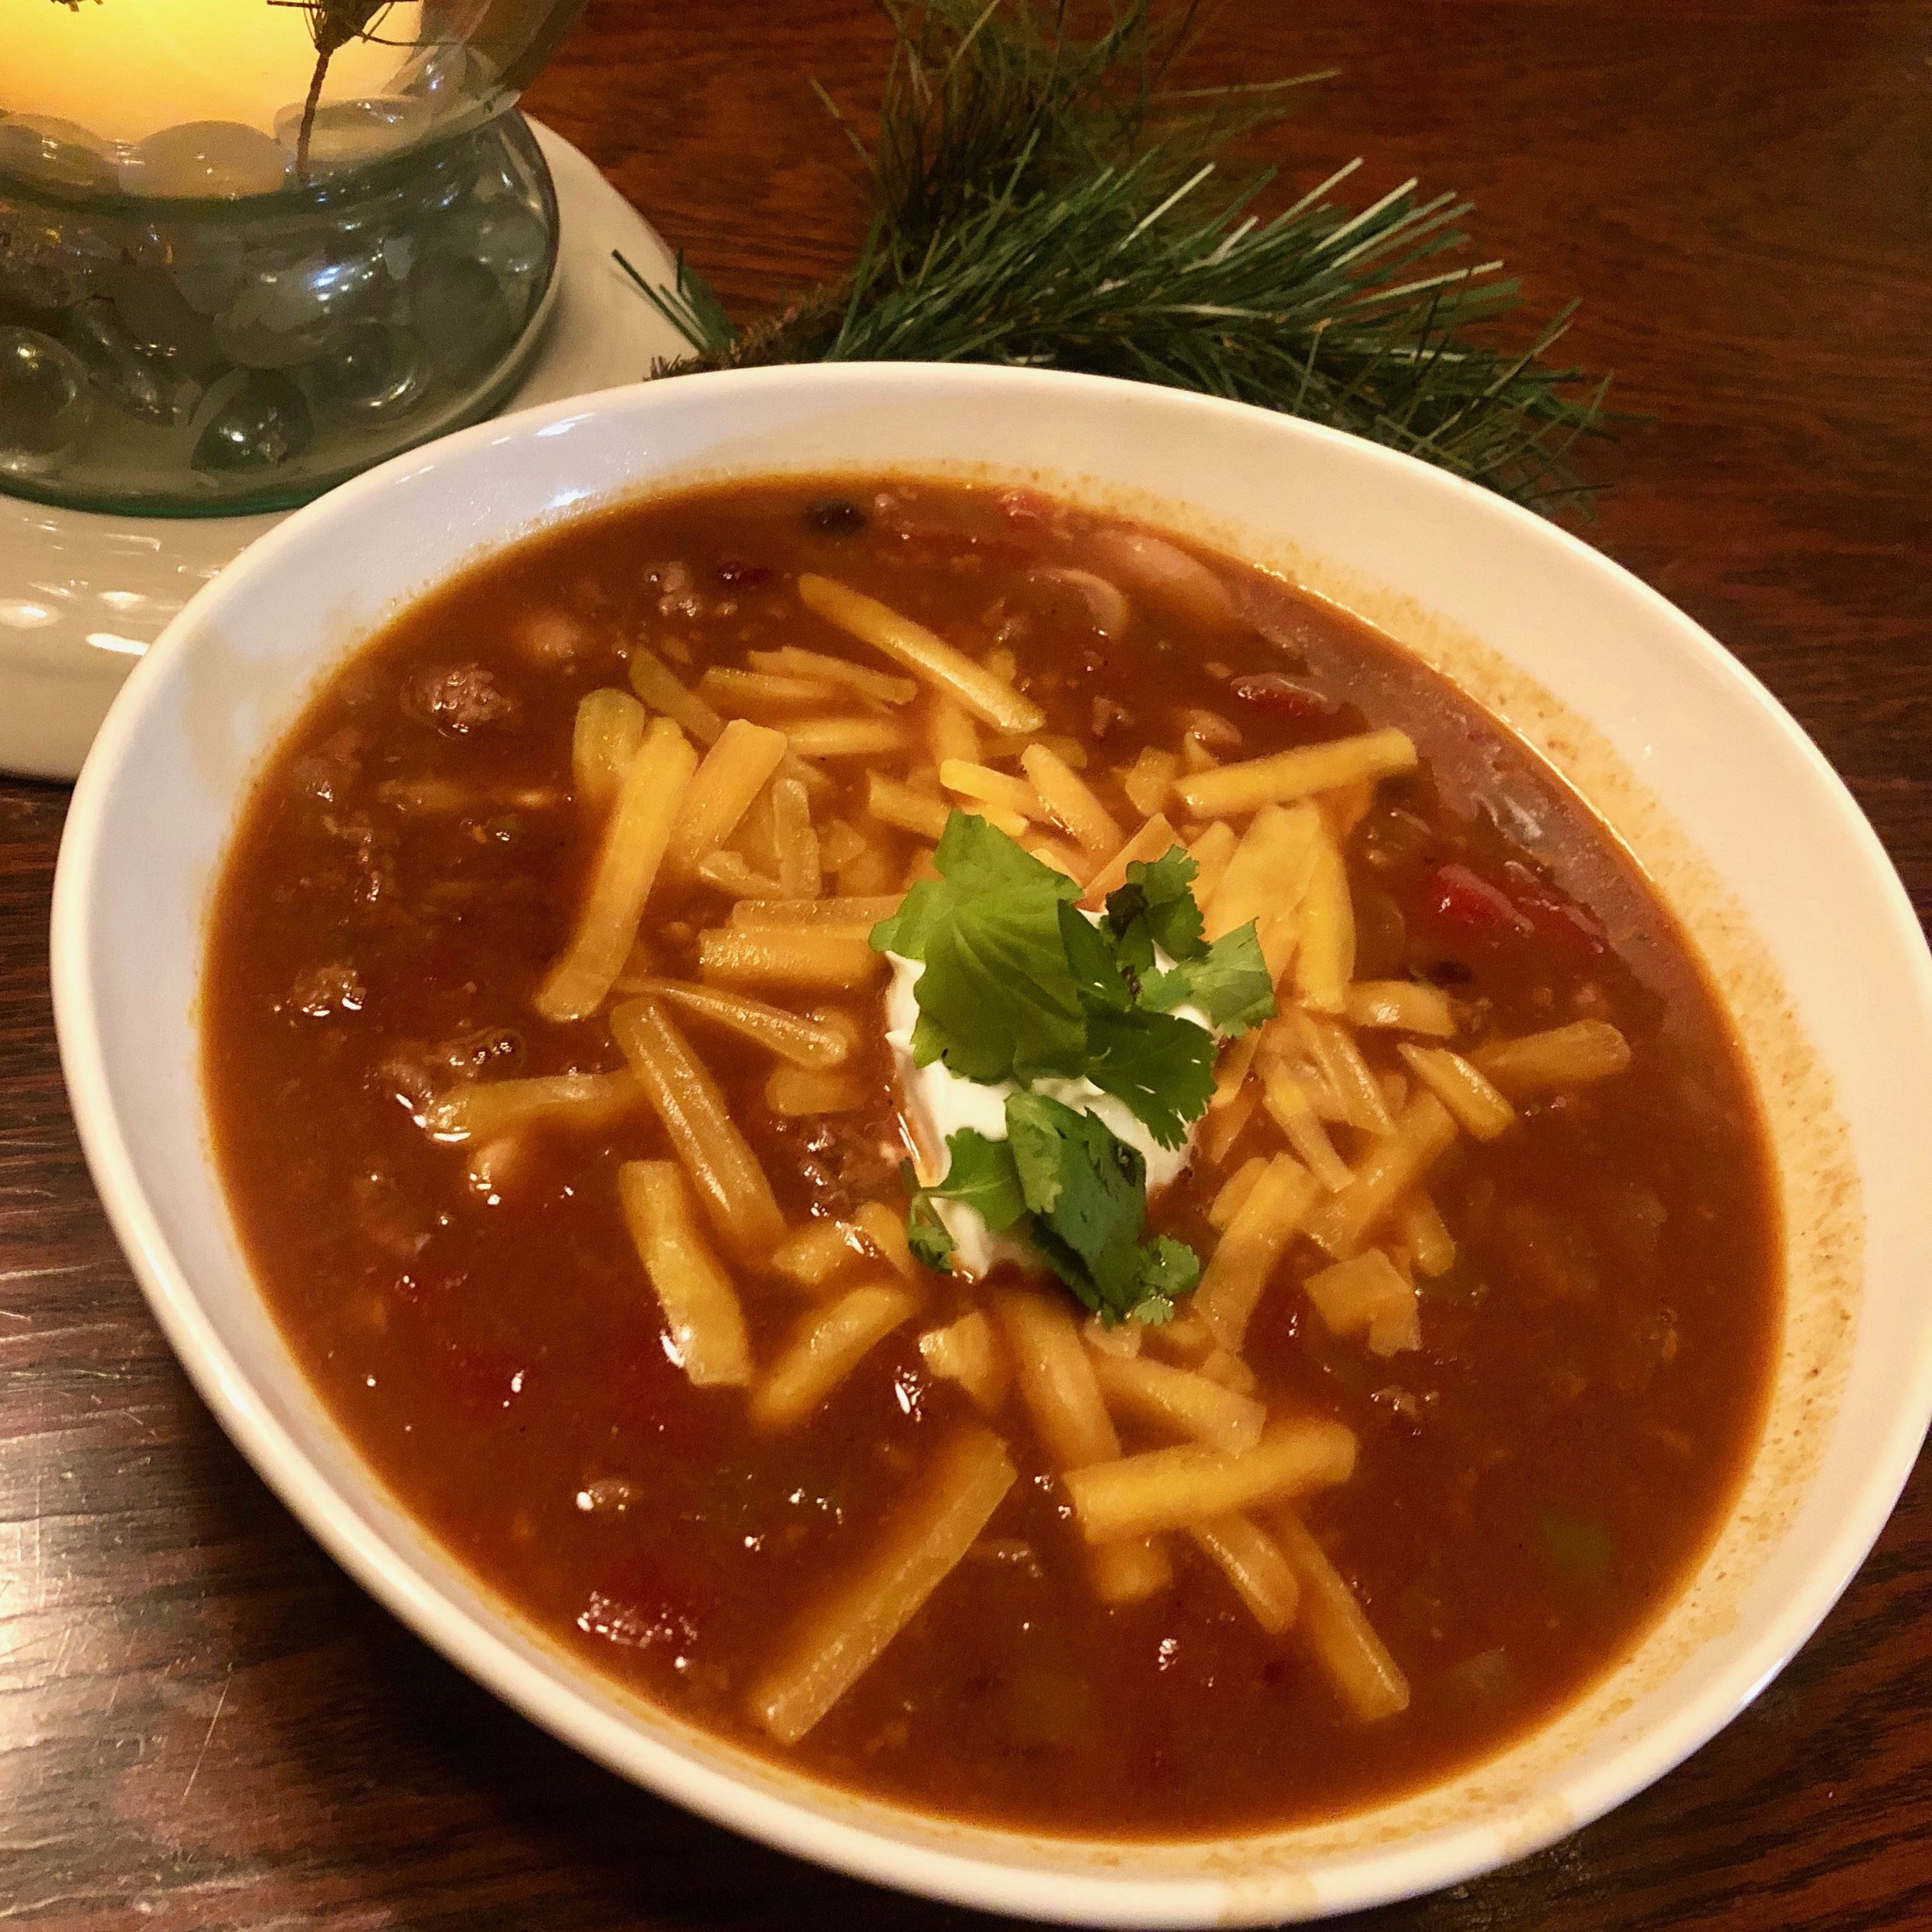

Once the chili comes to a boil, turn it down to a low simmer. You can eat the chili now… but it will be SO much better if you allow it the to simmer for at least an hour or two… maybe more. I often start the chili around 3:30 in the afternoon and eat by 7. Ladle up the soup bowls or crocks, garnish with what you like… Enjoy!
*** Chili can be made vegan by using vegetable broth and a larger variety of beans too!