Classy Bruschetta Crostini
Classy Bruschetta Crostini
Need an easy go to appetizer that will wow your guests? This app uses simple ingredients and is healthy to boot! Sure to amaze your family or guests too…
Classy Bruschetta
Yield: 24 – 26 crostini
Ingredients:
1 baguette bread loaf
2-3 tablespoons olive oil or olive oil spray
2 fresh plum tomatoes, diced
1 -15 ounce can petite diced tomatoes, drained
2 – 3 cloves garlic, minced
2 tablespoons olive oil
2 tablespoons balsamic vinegar
1 -2 tablespoons fresh basil, chopped fine (~5 large leaves) or 2 teaspoons dried
½ teaspoon kosher salt
1/8 teaspoon black pepper, fresh ground
¾ cup finely grated mozzarella cheese
Equipment needed:
Serrated and chef knives
Cutting board
Half sheet pan
Pastry brush
Small mixing bowl
Measuring spoons
Small slotted serving spoon

I love to make these crostini! The first time I made these was for a gourmet band meal for the high school. I needed something quick that would fit in with my Italian themed meal. This did the trick! Served eight of us with a little sparking grape juice and the kids thought they were in heaven… or Italy! I made the bread and tomato mixture ahead and assembled last minute which was great for meal management and timing too.


Preheat broiler on high or 450 F. Set rack to highest level.
The first steps are to make the bread layer, so take a 2 – 3 inch diameter baguette or thin French loaf and slice on a slight diagonal making each about ¼ inch thick. You didn't want them too thick as you want them to crisp up when baking. Cutting on a diagonal also gives you a slightly longer slice and great meal appeal. Arrange them on a half sheet pan closely together, shoulder to shoulder. You should get about 24 – 30 slices and might need to make two batches depending on pan or loaf size. Using a pastry brush, lightly brush each slice with oil. Flip them over and do the same on the other side. I occasionally use olive oil spray, which makes the process quicker yet!
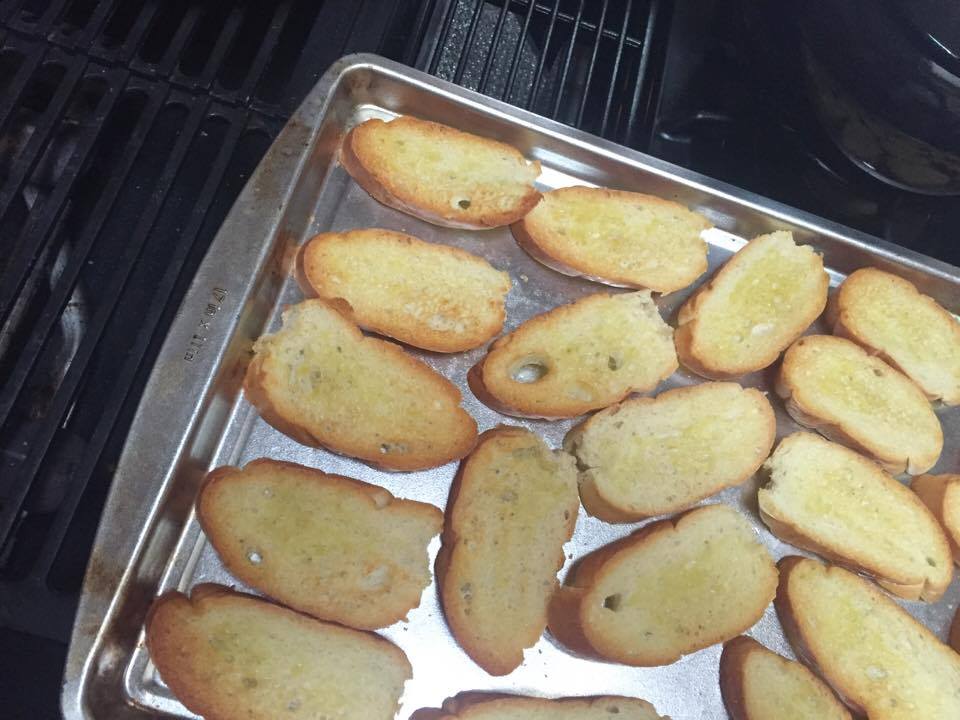

Place oiled bread under preheated broiler ~ 4 inches from element. Broilers work very fast so you will have to pay attention or set a timer so you don't burn your bread. I have become busy and my bread has “over browned” on occasion, so if you don't want to scrap black off the crusts (or start over) pay attention!! Usually the bread will start to toast in about 2 -3 minutes. I usually go lighter on the first side as then I at least have one side I can use if the second gets darker. After the first side is tan, remove from oven and quickly flip over the bread to the other side. I use my fingers, but I am used to holding molten hot food, so you might use a fork or tongs. Place bread back under broiler for about 2 -3 more minutes. The second side often cooks quicker as the pan and bread are warmer. Stack bread slices and place to the side to cool completely. After cooling you can store in a loosely closed plastic bag. They will stay fresh for a couple days. Sometimes I use leftovers to grind up into bread crumbs too!
The yummy tomato topping for the crusty bread is such a lovely combination and so easy to prepare. If you don't have fresh basil, use dried and you will notice the amount is less. Fresh gives a much better flavor, but can be expensive. I usually have it in my garden and a pot on my deck… unless it's winter of course. The garlic is also minced fine to distribute the flavor evenly and avoid large chunks.


To chop the fresh basil the easiest, quickest way is to create a chiffonade by stacking basil leaves with largest on bottom and rolling them into a tight tube, as shown above. Using a chef knife, slice the roll into very thin ribbons. Fluff ribbons and chop into smaller, fine pieces. Remember meal appeal is small pieces, not large chucks. You want every bite to have basil. I often use this technique to cut basil for sauces, except I leave them in ribbon sized pieces.


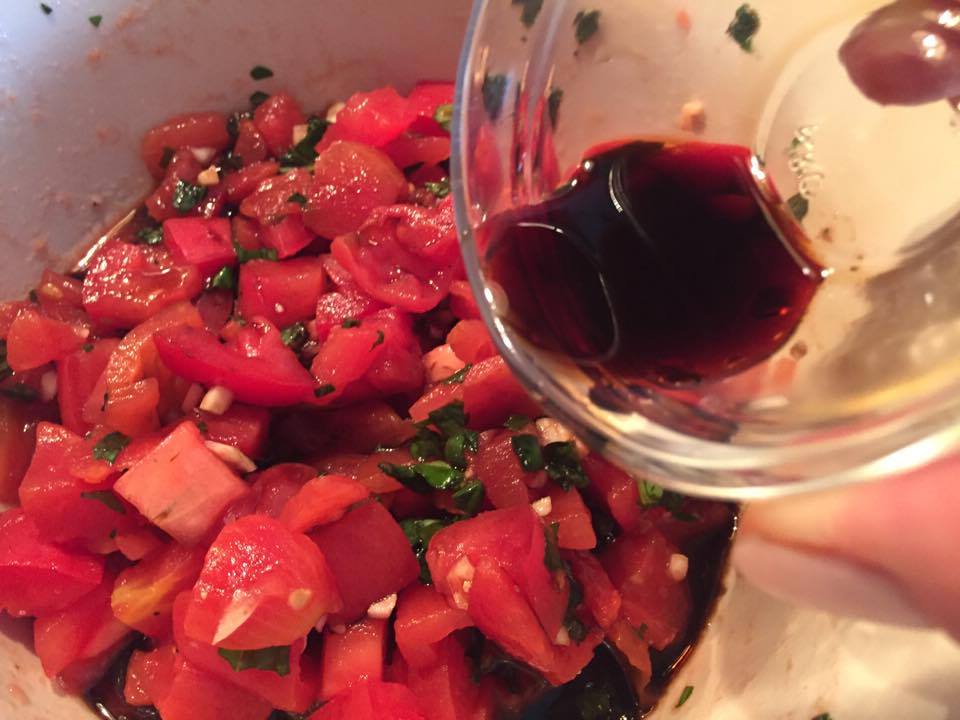
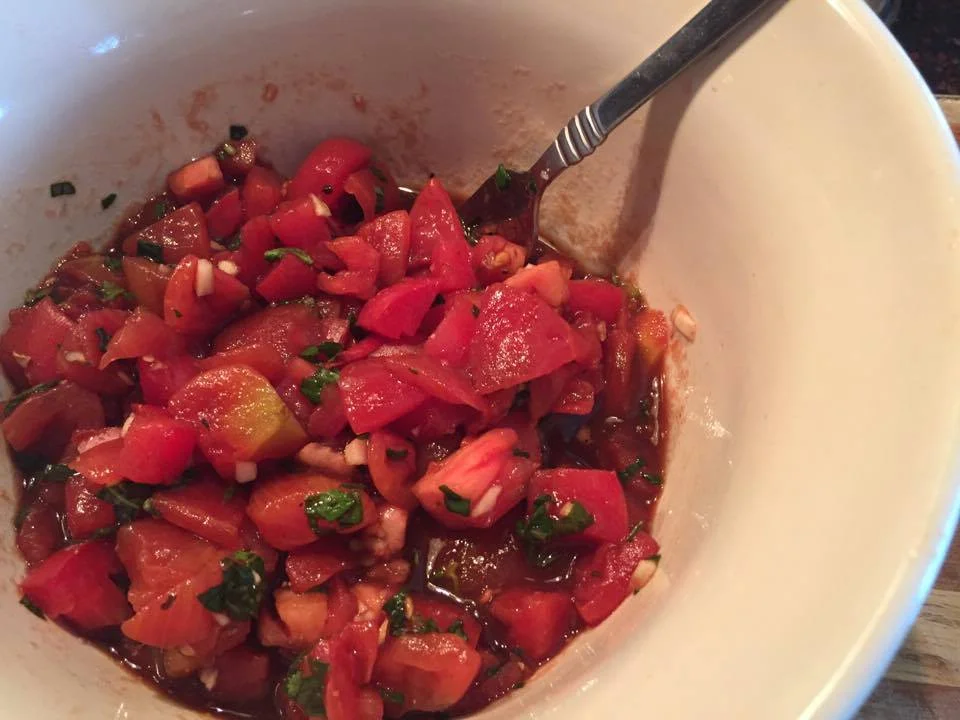
The remaining of the steps are combing all the ingredients. I usually prepare the tomatoes and seasonings early in the day. Helps with time management close to meal time. Open the can of diced tomatoes and drain the liquid. I often reserve the liquid for other recipes or drinking it… tomato juice. I try not to waste anything! Using a serrated knife or a very sharp chef knife, slice Roma tomato into 4-5 slices. Separate in half and place flat on cutting board. Always create a safe cutting surface by not cutting a round, rolling object. Slice tomato both directions again to create even, small pieces. Place drained tomatoes, Roma tomatoes, minced garlic, salt & pepper into the small bowl. Stir well to combine. Pour balsamic vinegar over mixture and mix well. Balsamic vinegar has a wonderful earthy flavor that is not as sour as other vinegars. Do not substitute another vinegar as the flavor will not be the same! The more expensive the balsamic, the longer it is aged = better flavor. I purchase medium, priced vinegars rather than super cheap ones. I seem to gravitate to olive oil and vinegar stores when shopping, so I have a variety to make salad dressings and recipes. Taste the product at this point to check for seasoning. A pinch or two of salt and grind of pepper can be added. At this point I cover the bowl with plastic wrap and refrigerate for at least two hours to meld the flavors.

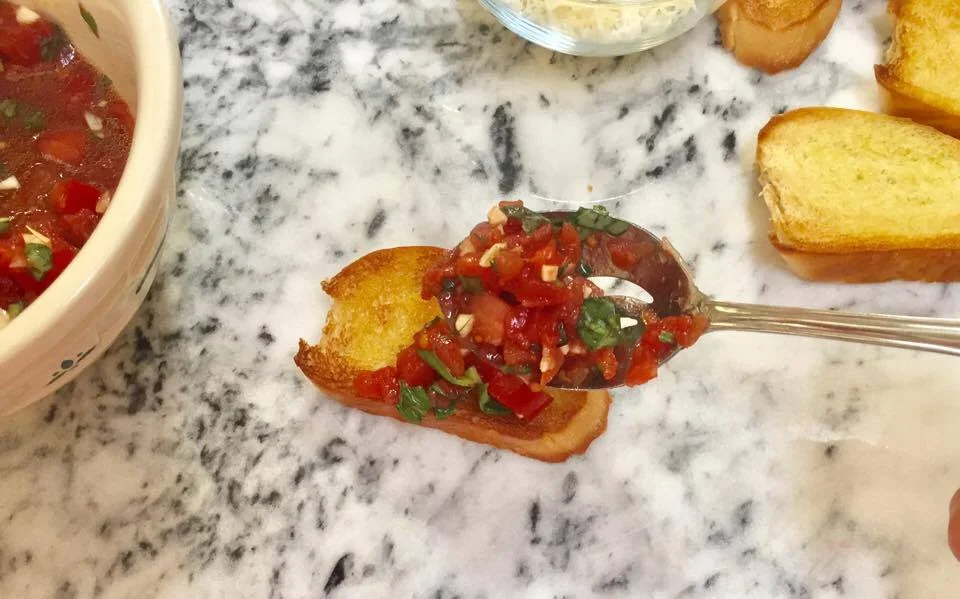

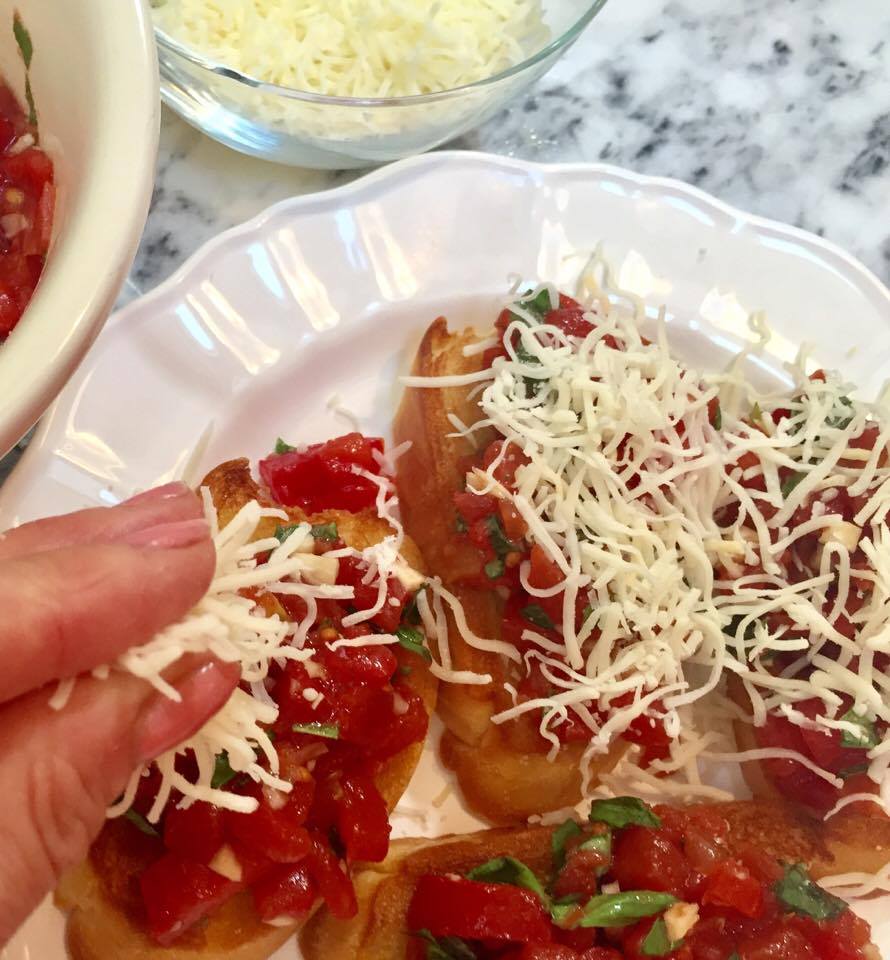
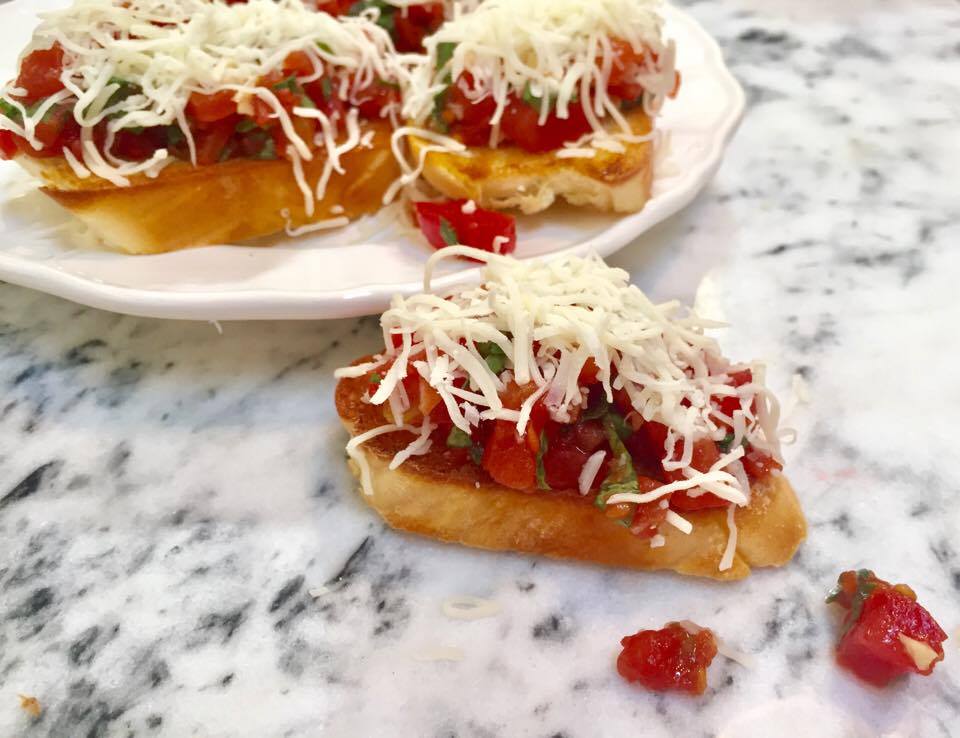
To create your crostini, use a small slotted serving spoon to help reduce extra juice which will make your appetizer soggy. Lay out all prepared breads on the half sheet pan or cutting board and place a scoop of tomato mixture on each. If you have leftover tomatoes, I save them for later or add a bit more to each crostini. Sprinkle shredded mozzarella on top of each and place on a serving platter. Sometimes I allow guests to create their own by placing bread in a basket and bowls of tomato mixture and cheese along side. Here guests can control the portions and not add cheese if they prefer it plain.
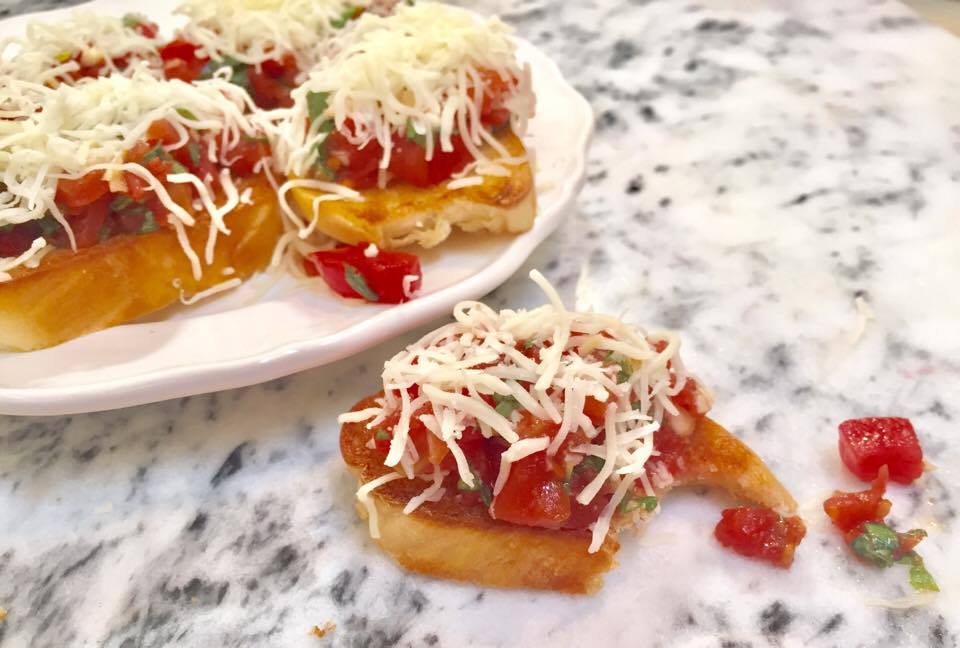
Your appetizer is ready! The crunchy bread and yummy topping make an amazing combination! Enjoy!